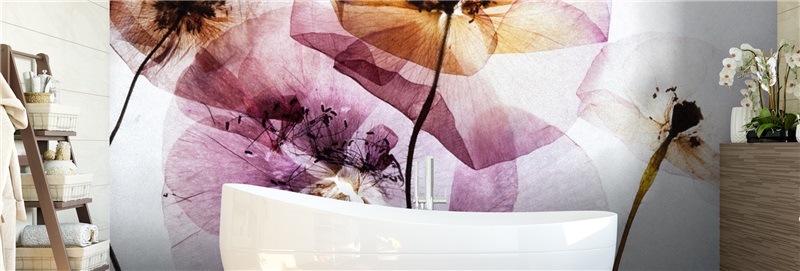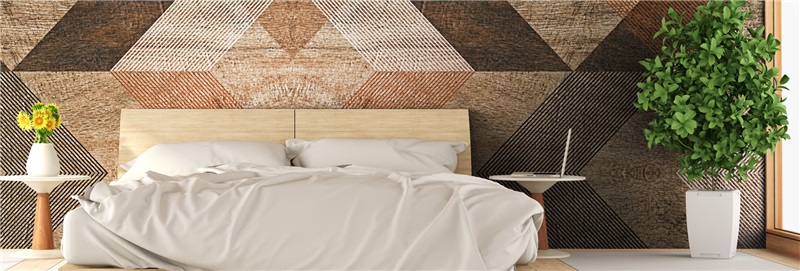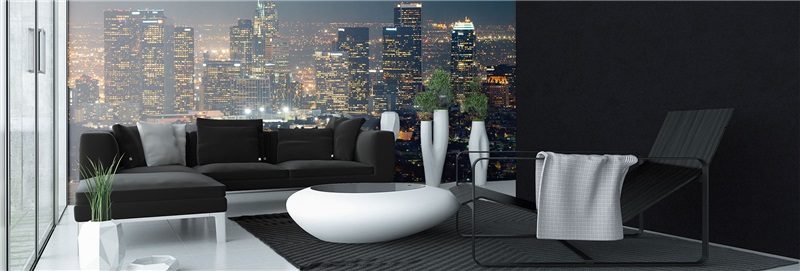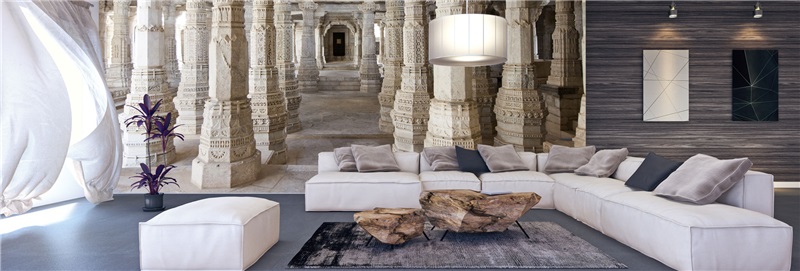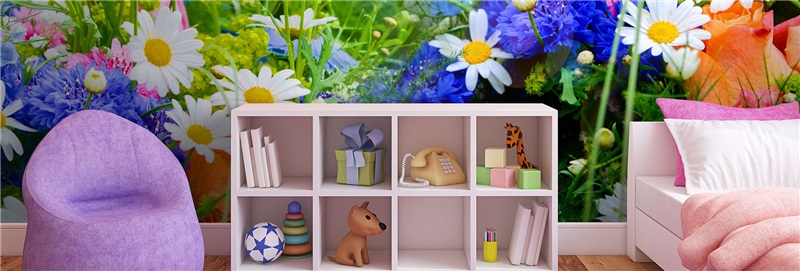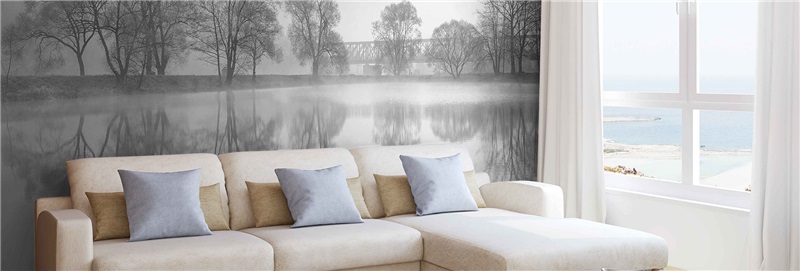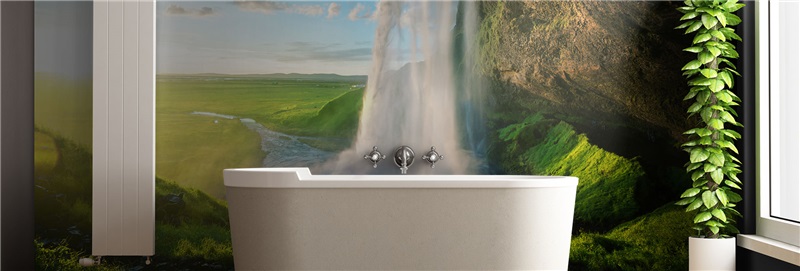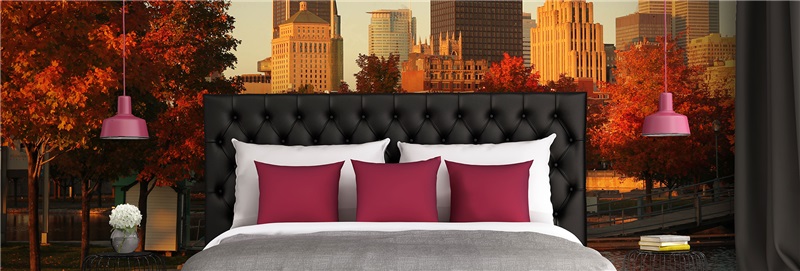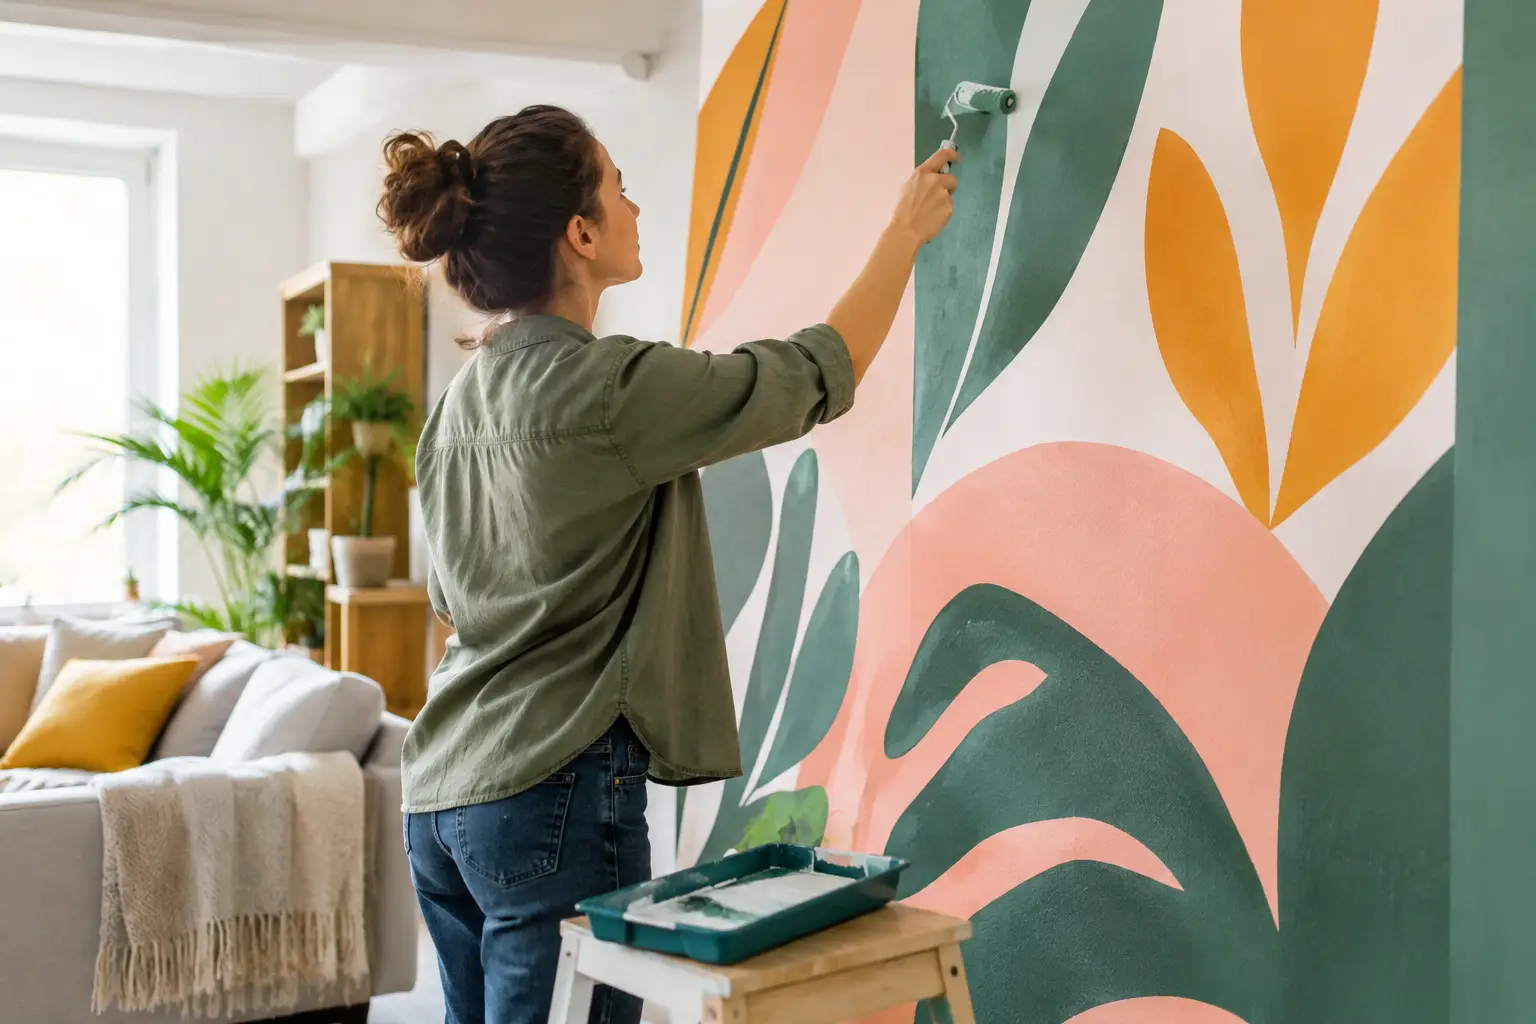
A blank rental wall can make a furnished room feel unfinished, especially when you are not allowed to paint, drill freely, or make permanent changes. This rental friendly mural guide helps you create a room-scale focal point with removable-style wall graphics while making careful choices about your lease, wall condition, and installation method.
A mural is not a small decorative accent. It can establish the mood of a bedroom, make a nursery feel personal, give a home office more character, or turn an ordinary dining area into a destination. The key for renters is choosing a material and process that respect the wall underneath.
Start With Your Lease and Your Wall
Before selecting a forest, floral, abstract, cityscape, or custom photo mural, read the language in your lease. Some landlords allow removable décor but prohibit adhesive products of any kind. Others permit wall coverings as long as the wall is returned in its original condition. If the wording is unclear, ask for approval in writing and describe the product accurately as a removable adhesive wall graphic rather than assuming every mural will be treated the same way.
The wall itself matters just as much. Adhesive vinyl is best suited to sound, smooth, clean painted drywall. Fresh paint needs time to cure fully, typically at least two to four weeks depending on the paint manufacturer and conditions. Applying a mural too soon can interfere with adhesion and may lift paint during removal.
Be cautious with walls that have peeling paint, water damage, heavy texture, loose joint compound, or very old paint layers. A mural may be removable, but no adhesive can guarantee a perfect outcome on a surface that is already failing. Textured walls can also create visible air gaps and reduce contact between the film and the wall.
If possible, test a small sample in an inconspicuous area before committing to a full feature wall. Leave it in place long enough to see how it adheres, then remove it slowly. That small step can reveal more about your specific wall than a product label alone.
Choose the Right Rental Friendly Mural Material
Not all peel-and-stick wall décor is made alike. Thin decals, low-tack paper products, and heavier vinyl films can behave very differently during installation and removal. For a high-visibility wall, look for mural wallpaper printed on adhesive vinyl film that is intended for painted drywall, with durable inks and a finish that can handle normal daily contact.
Murale Design produces custom-sized adhesive vinyl murals with latex inks and an anti-scratch finish, so the design is made for more than a temporary visual effect. The custom dimension is especially useful in rentals, where a wall may be narrower, shorter, or interrupted by baseboards, radiators, and built-ins.
Your best design choice depends on the room and how long you expect to stay. A large-scale botanical or misty forest can make a compact bedroom feel more restful. A world map gives a child’s room personality without committing to a painted theme. Soft abstract shapes can bring color to a living room while remaining flexible enough for changing furniture.
Custom photography is another strong option, but image quality matters at mural scale. A photo that looks sharp on a phone may look soft when enlarged across eight feet of wall. Choose an image with good lighting, clear detail, and sufficient resolution, and have it reviewed before production. Professional image guidance can prevent a costly disappointment once the mural arrives.
Measure the Whole Installation Area
Measure the wall width and height in several places, not just once in the center. Walls are often slightly out of square, particularly in older apartments and houses. Use the largest width and the tallest height so the mural has enough material to cover the full area cleanly.
Include the space behind furniture if the mural will run from side to side. A sofa, crib, or desk may hide the lower section today, but it may be moved later. For a more deliberate look, decide whether the mural will cover the complete wall or sit above a chair rail, shelf, or wainscoting line.
Account for architectural details before ordering. Windows, doors, outlets, vents, and wall-mounted heaters are manageable, but they affect panel placement and trimming. Take straight-on photos of the wall and note each obstacle’s distance from the nearest corner. This is particularly valuable for a custom project, where production support can help you plan the layout before printing.
Prepare Carefully Before You Install
Good installation begins the day before the mural goes up. Move furniture away from the wall, remove outlet covers if appropriate, and create enough floor space to handle the panels without folding or dragging them. Keep the room at a moderate, stable temperature and avoid installation in humid conditions.
Clean the wall with a mild, non-oily cleaner, then let it dry completely. Do not use products that leave a polish, waxy residue, or strong fragrance oil behind. Even a beautiful mural can fail at the edges if it is applied over dust, grease, or cleaning residue.
When the mural arrives in panels, inspect the design, panel order, and dimensions before removing any backing. Lay the panels out in sequence on a clean floor. This is the moment to confirm that the artwork flows correctly and that you understand which edge overlaps or aligns with the next panel.
For most feature walls, a second person makes installation calmer and more accurate. One person can hold the panel steady while the other checks the vertical line, removes backing gradually, and smooths the film from the center outward. Starting perfectly level is more important than moving quickly. A panel that drifts at the top becomes much harder to correct several feet down.
Install for a Clean, Temporary-Looking Finish
Begin at the most visible corner or at the layout point specified for the mural. Use a level or plumb line rather than relying on a ceiling or door frame, since those elements may not be perfectly straight. Apply only a small section first, then step back and verify alignment before continuing.
Peel the backing away in manageable sections instead of exposing the whole adhesive surface at once. Smooth the mural with a soft squeegee or clean cloth, working from the center toward the edges to release trapped air. If a small bubble appears, lift and reapply that area gently while the panel is still easy to reposition.
Do not stretch the material to force it into place. Stretching can distort the design or cause the panel to pull back at the edges later. Trim excess material only after the panel is fully applied and smoothed. Use a sharp blade, a steady straightedge where needed, and light pressure around outlets and corners.
A rental-friendly result should look intentional, not provisional. Clean seams, straight panels, and thoughtful placement make the mural feel integrated with the room, even if you plan to take it down when your lease ends.
Plan Removal Before Moving Day
Removal is easiest when you do not rush it. Start at a top corner and pull the mural back slowly, keeping the material close to the wall rather than pulling straight outward. A low, controlled angle puts less stress on paint. If the room is cold, gentle warmth from a hair dryer on a low setting can soften the adhesive, but avoid overheating the wall or film.
Work in sections and watch the paint as you go. If you notice lifting, stop and reduce the pulling angle. This is where the condition of the original wall matters most. Even carefully applied wall graphics can remove loose paint that was not firmly bonded to the drywall.
Save a small amount of matching touch-up paint if your landlord provides it, or photograph the original wall color before installation. Minor scuffs near corners, outlet covers, or baseboards are easier to address before the final walk-through. A clean removal process is not just about recovering a blank wall. It is about leaving the space ready for the next chapter.
A mural can make a rental feel like your own without asking you to live with beige walls or temporary décor that never quite feels finished. Choose a wall worth celebrating, prepare it properly, and give yourself enough time to install and remove the design with care.
![Best Bathroom Mural Ideas to Elevate the Room [even for small bathroom]](/assets/documents/article/image/sans-titre.jpg)