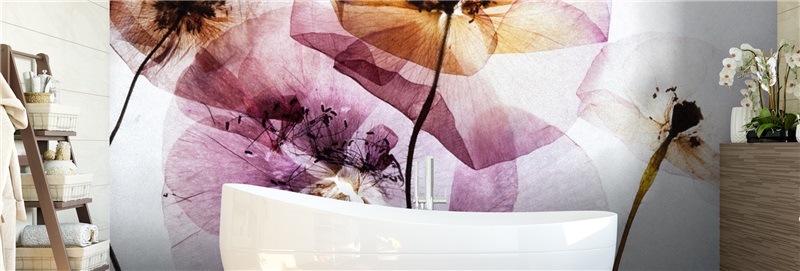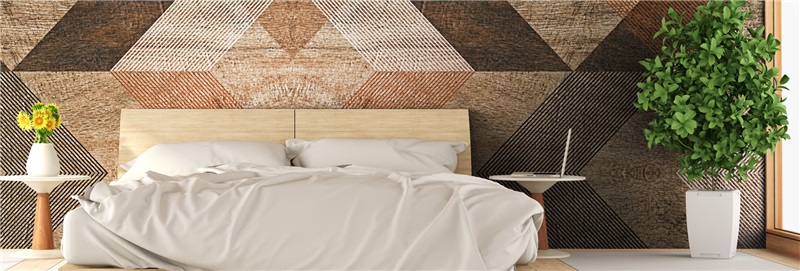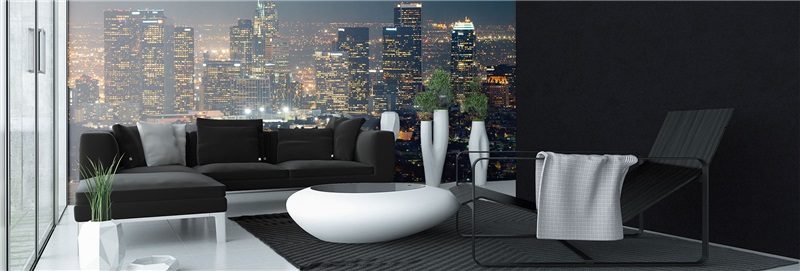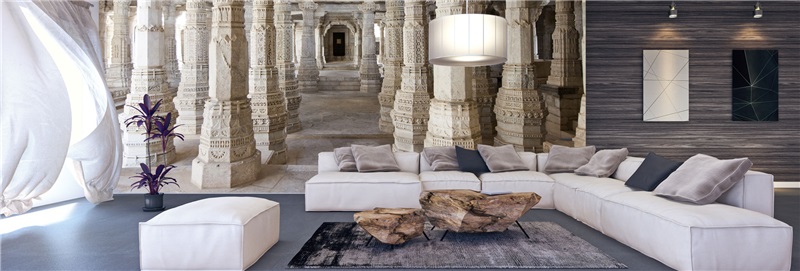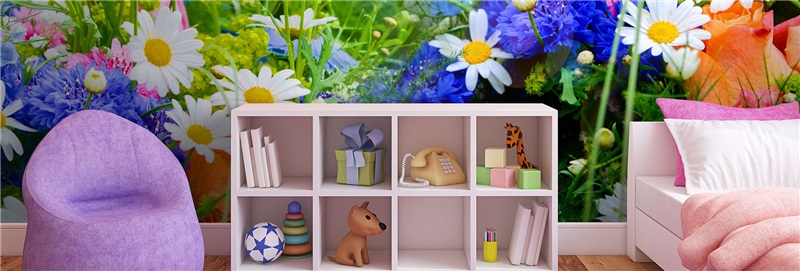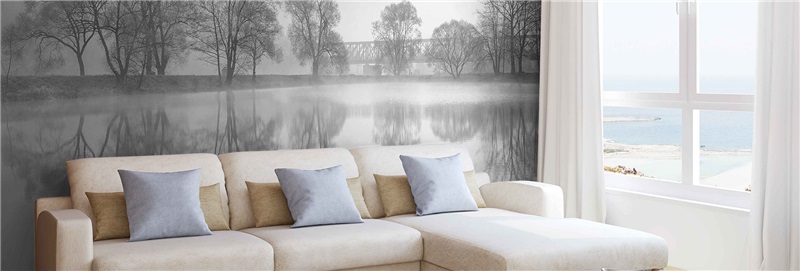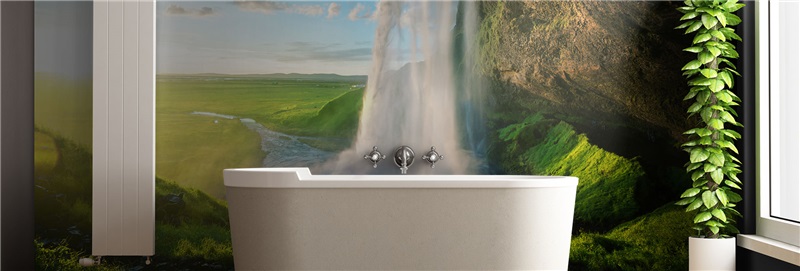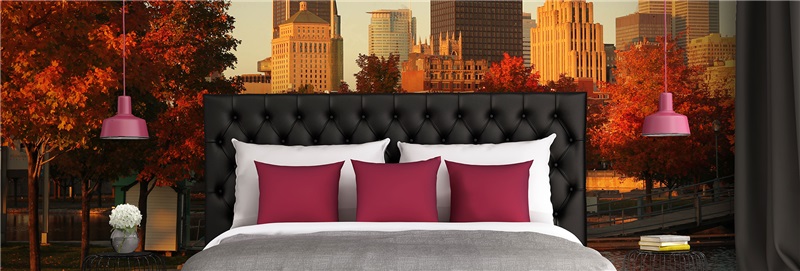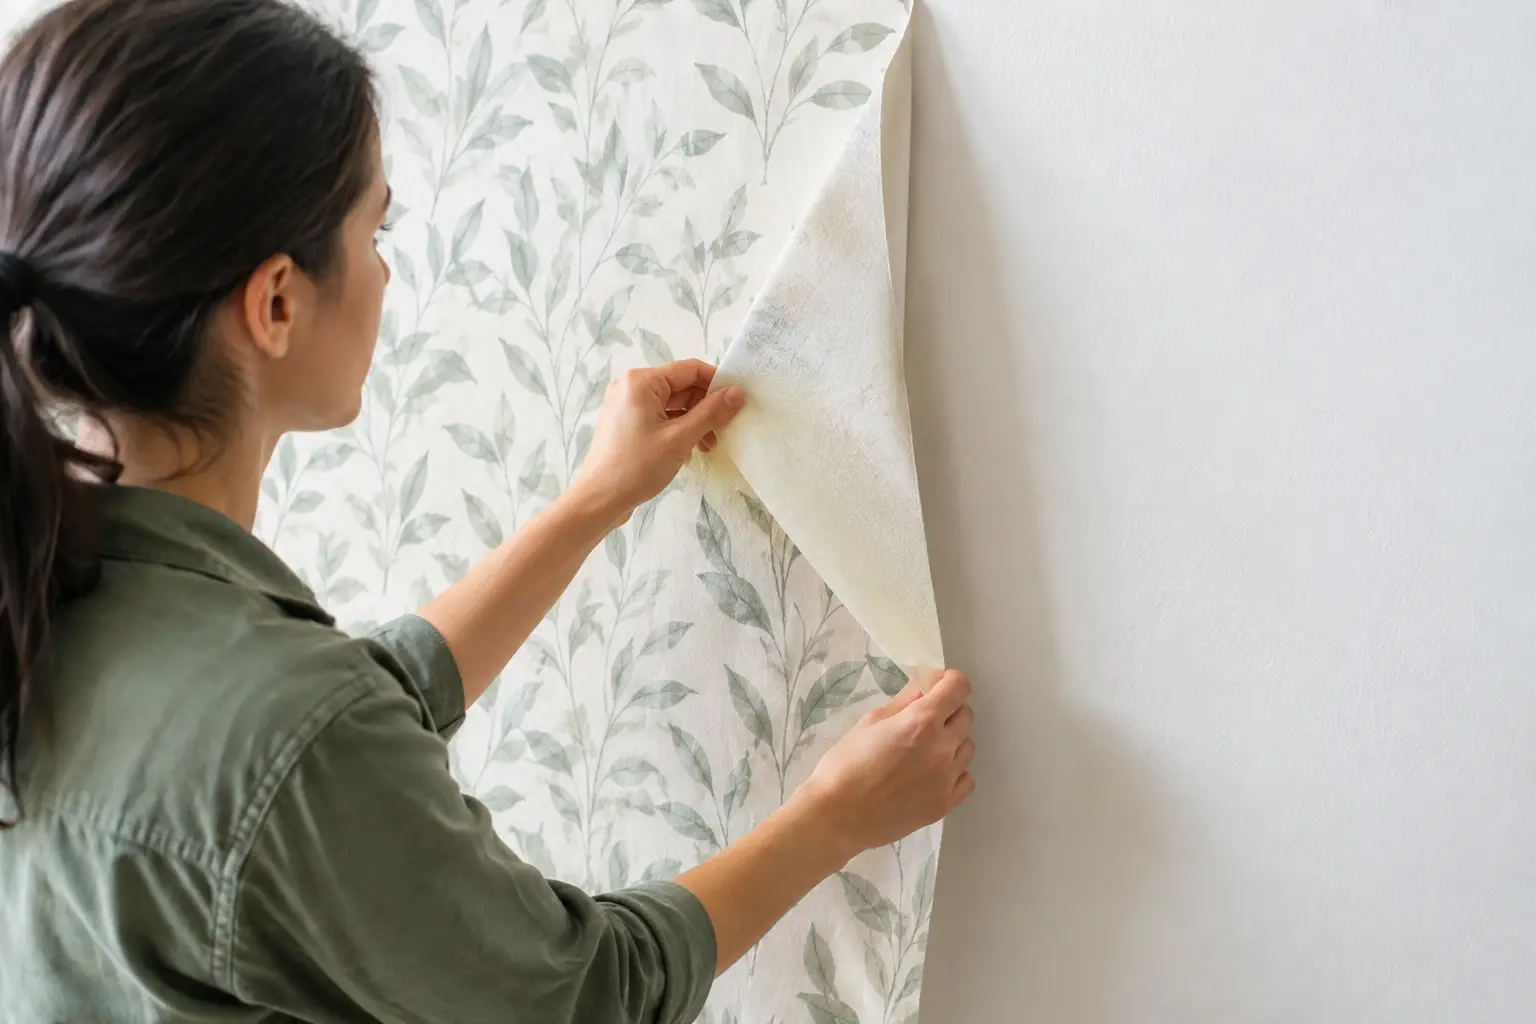
A bold botanical mural behind the bed or a custom family photo across an office wall can change a room quickly. But before applying any peel-and-stick wall covering, homeowners and renters understandably ask: can removable wallpaper damage paint? The honest answer is yes, it can - but damage is far from inevitable. It usually comes down to the condition of the wall, the type and age of the paint, the adhesive, and how the material is removed.
Removable wallpaper is designed to come away more cleanly than traditional pasted wallpaper. Still, “removable” describes the intended use, not a guarantee that every painted surface will react the same way. A carefully prepared, sound painted wall gives an adhesive vinyl mural the best chance of looking beautiful now and lifting away cleanly later.
Can Removable Wallpaper Damage Paint on Removal?
Paint can peel when the adhesive bond to the wallpaper becomes stronger than the paint’s bond to the wall beneath it. That is most likely on walls with loose, poorly cured, damaged, or low-quality paint. In those cases, removal may pull off small flakes of paint or reveal existing weak spots that were already close to failing.
The adhesive itself is only part of the equation. Painted drywall is a layered system: drywall, primer, paint, and sometimes years of touch-ups. If a previous coat was applied over dust, glossy paint, or an inadequately prepared surface, it may not be firmly attached. A peel-and-stick covering can expose that issue during removal, even when the wall graphic performed exactly as intended.
This is why no responsible manufacturer should promise that a self-adhesive wall covering is risk-free on every wall. The better approach is to assess the surface before installation, use a quality material suited to painted drywall, and remove it with patience rather than force.
The Wall Conditions That Matter Most
A smooth, clean, fully cured painted wall is generally the safest surface for removable wallpaper. Flat walls with well-adhered latex paint are often good candidates for adhesive vinyl murals. Recently painted walls, textured finishes, and surfaces with existing paint problems deserve more care.
Fresh paint needs time to cure
Dry-to-the-touch is not the same as cured. Fresh paint may feel dry within hours, but it needs time to harden and bond fully to the wall. Applying peel-and-stick wallpaper too soon can interfere with that curing process and increase the chance of paint lifting later.
As a practical rule, allow new paint to cure for at least 30 days before installing a self-adhesive mural, unless the paint manufacturer gives a longer recommendation. High humidity, low temperatures, and multiple heavy coats can extend curing time. If the wall was repaired and spot-painted, give those areas the same consideration.
Weak, old, or poorly bonded paint is vulnerable
Look closely at the surface before you begin. Peeling at trim lines, bubbling, cracking, chalky residue, or paint that comes off with ordinary painter’s tape are warning signs. Wallpaper may adhere to these areas initially, but removal can take unstable paint with it.
Test a discreet spot with low-tack painter’s tape first. Press it down, wait briefly, then peel it back slowly. If paint releases, address the wall condition before installing a mural. Scrape loose paint, patch imperfections, prime repairs, and repaint as needed. A feature wall is worth preparing properly, especially when it will support a large, custom-sized graphic.
Finish and texture affect both adhesion and removal
Eggshell, satin, and semi-gloss paints typically offer a smoother, more stable surface than very flat or chalky finishes. That does not mean flat paint always fails, but it can be more porous and more easily marked during installation or removal.
Heavy orange peel, knockdown texture, brick, unfinished plaster, and uneven walls create another challenge. Adhesive vinyl needs consistent contact to lie flat. On a textured surface, the mural may not adhere evenly, and removing it can pull at high points in the paint. For the cleanest visual result and the most predictable removal, choose a smooth wall whenever possible.
How to Prepare a Painted Wall for Peel-and-Stick Wallpaper
Wall preparation does not need to be complicated, but skipping it can lead to bubbles, lifting edges, and avoidable paint concerns. Start by checking that the paint is stable and fully cured. Then clean the wall with a soft cloth and a mild, non-residue cleaner. Dust, cooking grease, hairspray, and household film can reduce adhesion, particularly in bedrooms, kitchens, and busy family spaces.
Let the wall dry completely before installation. Do not apply a mural over damp drywall or immediately after steam-heavy shower use in an adjacent bath. If you have patched nail holes or dents, sand the repair smooth, remove all sanding dust, and allow primer and paint to cure fully.
A small test piece is a sensible extra step, especially in a rental or on a wall with an unknown paint history. Apply it in an inconspicuous area and check both adhesion and removal after a short period. It cannot predict every long-term outcome, but it can reveal obvious issues before the full installation.
For custom murals, accurate measurements matter just as much as surface prep. Measure the wall in several places, since ceilings and corners are not always perfectly square. Ordering with a little extra material for trimming helps panels meet the wall edges cleanly without stretching or forcing the film into place.
Remove It Slowly, Not in One Pull
When it is time for a new look, removal technique makes a real difference. Begin at a top corner and pull the wallpaper back slowly at a low angle, close to the wall. Think of folding it back over itself rather than pulling outward into the room. This reduces direct stress on the painted surface.
If the material feels resistant, pause. Gentle warmth from a hair dryer on a low setting can soften the adhesive and make it easier to release. Keep the dryer moving and avoid high heat, which can affect paint or wallboard. Work gradually across the panel rather than trying to remove a full sheet in one fast motion.
Avoid using sharp tools against the wall. A blade can score drywall paper or gouge paint, creating more repair work than the wallpaper itself. If a small amount of adhesive residue remains, test a mild cleaner in a hidden area first and follow the paint manufacturer’s care guidance.
Renters: Get Permission and Document the Wall
Removable wallpaper can be an appealing choice for renters because it offers a room-scale design change without traditional paste. Still, a landlord’s approval is wise, even if a lease does not specifically mention wall coverings. Some property managers have paint requirements, and some buildings use inexpensive paint that may be more prone to lifting.
Before installation, take clear, dated photos of the wall. Note existing scuffs, nail holes, touch-ups, and paint cracks. This protects everyone by establishing the wall’s condition before the project begins. Choose a smooth, well-maintained accent wall rather than a wall with visible repairs or flaking paint.
If you plan to install a mural for several years, remember that any painted surface can age over time. Sun exposure, indoor humidity, and prior paint quality can all change how a wall responds when the covering is removed. A careful test and thoughtful removal remain your best safeguards.
Choosing a Wall Covering With Confidence
For a large-format design, material quality and production precision matter. Adhesive vinyl wall murals printed with durable latex inks and a protective anti-scratch finish are made for high-visibility interiors, from nurseries and home offices to retail spaces and client-facing reception areas. They should be applied to an appropriate wall, not used to hide peeling paint or solve a moisture problem.
At Murale Design, custom wall murals are produced to your dimensions, and image quality can be reviewed before printing. That support is useful when you are turning a personal photo, artwork, or branded visual into a feature wall. It also gives you time to plan panel placement, wall preparation, and installation before the mural arrives.
The best removable wallpaper project starts with a wall that is ready for it. Give fresh paint time to cure, choose a smooth and stable surface, and remove the material slowly when the room is ready for its next idea.
![Best Bathroom Mural Ideas to Elevate the Room [even for small bathroom]](/assets/documents/article/image/sans-titre.jpg)