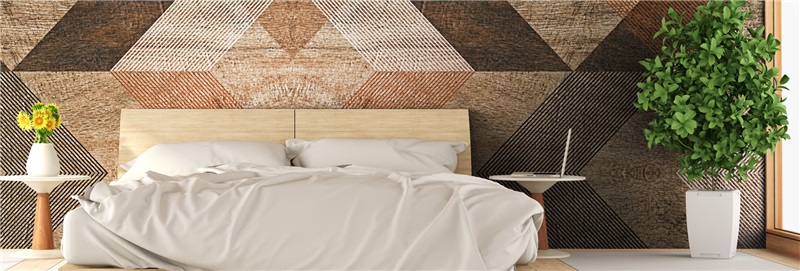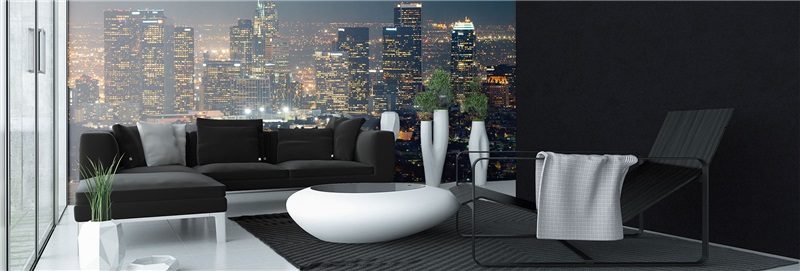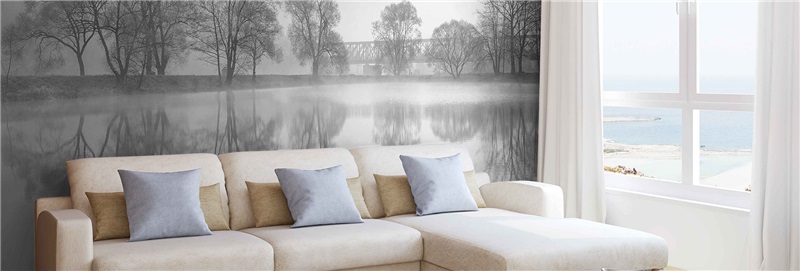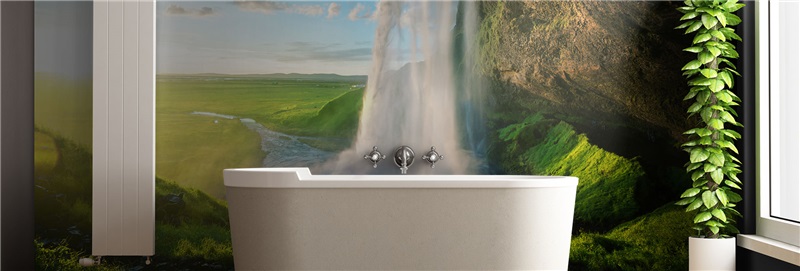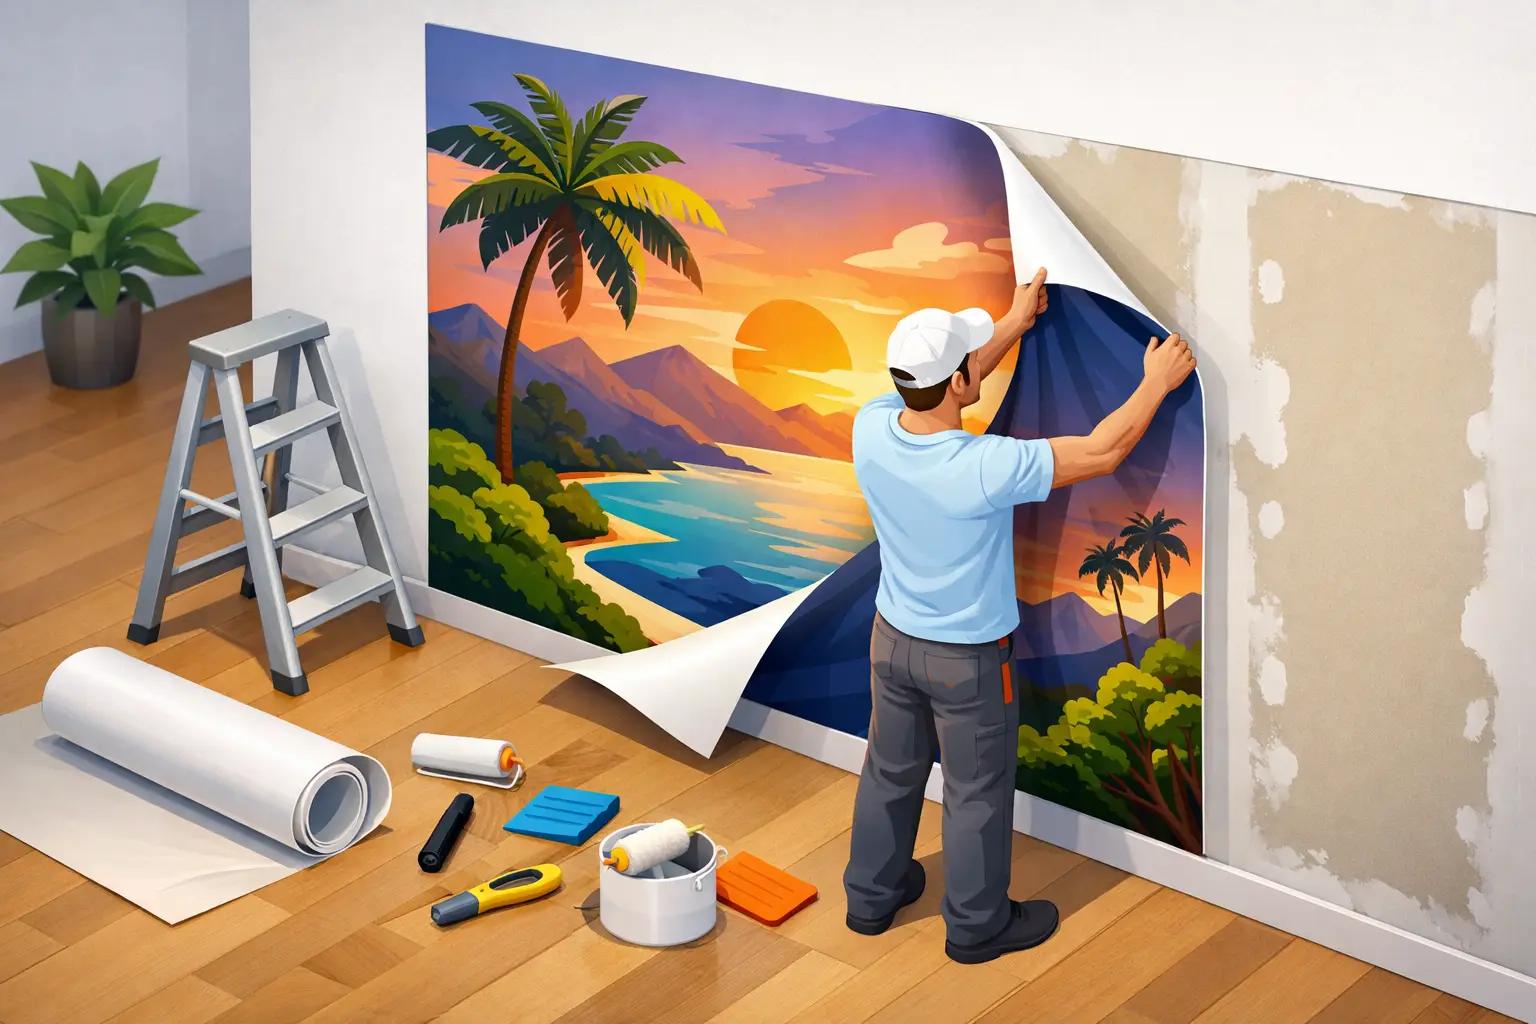
A wall mural can make a plain bedroom, office, or entry feel intentionally designed in a single afternoon, but the finished result depends on more than the artwork. Knowing how to install vinyl mural wallpaper correctly protects the alignment of the image, prevents trapped air, and helps the adhesive form a clean bond with the wall.
Self-adhesive vinyl murals are made for a more approachable installation than traditional pasted wallpaper. Still, large-format panels ask for careful preparation and a slow, methodical start. Give yourself enough space, work in good light, and recruit a second person for wide or tall panels. The first panel is the one that sets the standard for the entire wall.
Before You Install a Vinyl Mural, Check the Wall
Adhesive vinyl performs best on smooth, sound, painted drywall. Run your hand across the surface before opening the mural. If you can feel raised texture, peeling paint, repaired holes, or grit, the mural will show it more clearly once it is in place.
The wall should be clean, dry, and fully cured. Wash away dust, cooking residue, fingerprints, and any cleaner residue with a mild solution, then allow the surface to dry completely. Avoid applying a mural to a damp wall, a wall with active moisture issues, or freshly painted drywall that has not reached the paint manufacturer's recommended cure time. Paint may feel dry well before it is ready for adhesive film.
Flat or satin painted drywall is generally the easiest surface to work with. Highly textured walls, porous unpainted drywall, flaking paint, and stain-blocking or low-adhesion finishes can affect the bond. If you are uncertain, test a small vinyl sample in an inconspicuous area first. This small step is especially worthwhile for commercial spaces, recently renovated rooms, and walls with an unknown paint history.
Remove outlet covers, switch plates, artwork, and anything else that interrupts the installation area. Move furniture far enough away that you can stand back and check the image as you work. Set the room temperature to a comfortable, stable range rather than installing in a cold garage-like space or direct, intense sunlight.
Gather simple installation tools
You do not need specialized wallpaper equipment, but a few basic tools make a noticeable difference:
- A tape measure, level, and pencil
- Painter's tape for dry-fitting panels
- A soft felt-edged squeegee or smoothing tool
- A sharp utility knife with extra blades
- A clean microfiber cloth and a stable step stool or ladder
Use a sharp blade whenever you trim. A dull one can pull at the vinyl edge or leave a ragged cut around a ceiling line, baseboard, outlet, or window casing.
How to Install Vinyl Mural Panels Step by Step
Start by laying every panel face-up on a clean floor and checking the panel numbers, image flow, and orientation. This is the moment to spot a reversed panel or identify where a tree line, horizon, floral stem, or architectural detail continues across a seam. Do not remove the backing until you understand the order.
Mark a true starting line
Walls are not always square, and ceilings are not always level. Do not rely on a corner as your guide. Instead, measure the width of the first panel and use a level to draw a light vertical plumb line where its edge will sit. This line is more important than trying to make the mural match a slightly crooked corner.
If the design includes a strong horizontal detail, such as an ocean horizon or city skyline, take an extra minute to consider its visual position. A level first panel will keep the whole composition straight, even if you need to trim a little more at one edge of the wall.
Dry-fit the first panel
With a helper, hold the first panel in position and secure its top corners temporarily with painter's tape. Step back and confirm that the design is where you want it. Check for enough material at the ceiling, floor, and side edge to allow for final trimming.
Many custom murals are produced with a small amount of bleed for this purpose. Never trim panels to the exact wall size before they are on the wall. Drywall corners, baseboards, and ceilings rarely provide a perfectly straight cutting guide.
Apply the panel from the top down
Peel back about 8 to 12 inches of backing paper from the top of the first panel. Keep the remaining backing folded down rather than removing it all at once. Align the exposed adhesive edge with your plumb line, leaving the planned excess at the ceiling.
Press the top section into place lightly at first. Once it follows the line correctly, use the felt squeegee to smooth from the center outward in overlapping strokes. This pushes air toward the edges without stretching the vinyl.
Continue downward in manageable sections. Peel away more backing, then smooth the exposed area before moving on. Keep gentle tension on the panel, but do not pull hard. Stretching can distort the printed image and make the next panel difficult to align.
If you notice a wrinkle or air pocket immediately, carefully lift the panel back to the point where the issue began and reapply it. Trying to force a large bubble outward after the panel is fully adhered is less effective than correcting it early.
Match each following panel carefully
Bring the second panel into place without removing its backing and compare the artwork at eye level. Follow the panel order and the manufacturer’s seam guidance. Some mural systems are designed to butt cleanly edge to edge, while others include a slight overlap. The right approach depends on the panel construction, so do not assume every vinyl mural installs the same way.
Once you understand the seam, peel back the top section of the second panel and align the image before committing to the full length. Focus on a detailed part of the artwork rather than only the outer edge. A leaf vein, building line, map border, or facial feature will reveal a small mismatch faster than a broad area of color.
Work down the wall one panel at a time. Check the seam every few feet and step back frequently. A minor adjustment near the top is easy. A seam that drifts by the bottom may require lifting and repositioning a larger section.
Trim Edges and Work Around Obstacles
After the mural has been smoothed into place, trim excess material at the ceiling, baseboard, and outer edges. Use a straight, firm edge where practical and guide a sharp utility knife with light, controlled pressure. Replace the blade often, particularly when cutting near painted trim.
For outlets and switches, first locate the opening by touch. Make a small X-shaped cut in the center, then trim outward gradually toward the edges. Do not cut a large opening before you have confirmed the exact position. Reinstall the cover plate after the mural is trimmed; it will conceal the final cut edge.
Around windows, doors, and built-ins, leave a little extra material until you can make the final cut against the frame. Slow trimming is worth it on high-visibility walls, where a clean perimeter makes the mural look integrated rather than applied.
Common Problems and the Best Response
Small bubbles can often be worked toward the nearest edge with a soft squeegee. For a stubborn pin-sized bubble, a very fine pinprick may release the air, but use this sparingly and only after trying to lift and reset the area. Larger bubbles, wrinkles, or a misaligned seam should be addressed by gently lifting the vinyl soon after application and laying it back down gradually.
If an edge begins to lift, first look for the cause. Dust, textured paint, moisture, or pressure from an uneven surface may be the issue. Pressing harder will not correct a poor wall condition. Clean preparation and proper curing are what give adhesive vinyl its best chance of lasting beautifully.
For tall feature walls, stairwells, or commercial installations with many panels, professional installation may be the sensible choice. It is also a good option when the design has precise architectural lines or when access requires more than a household ladder. Murale Design can help customers plan custom dimensions and panel layouts before production, which reduces guesswork once the mural arrives.
Let the Mural Settle Before Final Styling
Once the final panel is trimmed, inspect the wall in natural and room lighting. Press along seams and perimeter edges with a microfiber cloth or felt squeegee, using steady pressure without scraping the print surface. Leave the wall undisturbed for a short period before moving furniture tightly against it or hanging décor over the mural.
A properly installed vinyl mural does more than fill an empty wall. It gives the room a focal point with scale, texture, and personality - whether that means a quiet forest behind a bed, a custom family photograph in a living room, or an illustrated world map that makes a child's room feel like its own place.
![Best Bathroom Mural Ideas to Elevate the Room [even for small bathroom]](/assets/documents/article/image/sans-titre.jpg)