The wall behind a bed, sofa, reception desk, or dining table already has a job: it anchors the room. A feature wall gives that surface a clearer point of view. This feature wall guide will help you decide where a statement belongs, choose artwork that suits the room’s proportions, and prepare for a mural installation that looks considered rather than improvised.
A feature wall does not need to compete with every object in the room. The strongest ones create focus first, then let furniture, lighting, and accessories support the scene. That principle matters whether you choose a misty forest, oversized florals, an abstract pattern, a cityscape, or a personal photograph printed at wall scale.
Start With the Wall That Already Draws Attention
The best feature wall is rarely the most empty wall. It is usually the one your eye lands on when entering the room, or the one that sits behind a natural focal point. In a bedroom, that is typically the headboard wall. In a living room, it may be the wall behind the sofa or opposite the main seating area. In an office, a wall visible on video calls can add personality without overwhelming the work zone.
Look at how the room is used before committing. A mural behind a television can be beautiful, but a high-contrast or detailed design may distract from the screen. A wall facing strong afternoon sunlight can make light colors feel brighter and can create glare on darker, glossy furnishings. A narrow wall between doors may be better suited to a more graphic, vertical design than a wide panoramic landscape.
For commercial interiors, think about the customer journey. A feature wall at an entry, waiting area, retail fitting room, or café seating zone can reinforce the atmosphere of the space in seconds. The goal is not simply to fill an available surface. It is to establish a visual moment people remember.
Use This Feature Wall Guide to Choose a Visual Direction
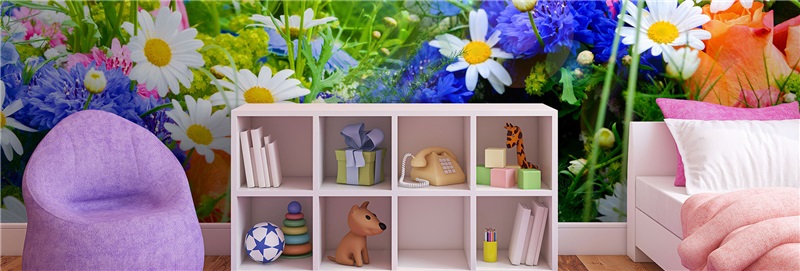
Choose artwork based on the feeling you want the room to hold, not only the colors already present. A quiet bedroom may benefit from a soft botanical print, clouded horizon, or layered neutral abstract. A playroom or nursery can carry more color, movement, and character. A home office often works well with a world map, architectural view, or restrained geometric pattern that feels energizing but not busy.
Scale changes the effect of every image. A small floral pattern repeated across a full wall reads as texture. Large flowers become dramatic and contemporary. A close-up animal portrait feels intimate, while a distant wildlife scene creates more visual breathing room. Before selecting a design, view it at room scale whenever possible. What looks subtle on a screen can become powerful once it spans eight or ten feet.
There is also a practical trade-off between drama and longevity. A bold trend-led print can make an immediate impression, but it may limit future furniture choices. A landscape, textured plaster effect, forest, or tonal abstract is often easier to live with as the room evolves. Neither direction is wrong. Choose according to how often you refresh your décor and whether the wall needs to serve a long-term commercial or residential setting.
Match the Image Perspective to the Room
Perspective is easy to overlook and has a major effect on whether a mural feels convincing. Designs with a horizon line, path, beach, or city view create depth when the perspective feels natural from your main viewing position. In a low-ceilinged room, imagery with upward movement, tall trees, or vertical architecture can make the space feel taller. In a long room, a wide landscape can emphasize welcome width.
Avoid placing the focal point of an image where it will be covered by a headboard, cabinet, or large piece of art. If a design includes a face, animal, landmark, or large bloom, plan its placement around the furniture first. Custom sizing makes this much easier because the artwork can be reviewed for the actual wall dimensions instead of being forced into a standard format.
Measure the Wall, Not Just Its Widest Point
Made-to-order wall décor starts with accurate dimensions. Measure the full width and height of the wall in several locations, because walls and ceilings are not always perfectly square. Use the largest measurement for each direction. It is generally wiser to have a little extra material to trim during installation than to discover a narrow gap at an uneven edge.
Record obstacles before placing an order. Windows, doors, vents, light switches, outlets, built-in shelving, and wall-mounted fixtures all affect the installation plan. You do not necessarily need to subtract these openings from the overall mural size. In many cases, installers apply the full panels and trim around obstacles for a cleaner, more continuous result.
For a feature wall that meets a sloped ceiling, stair line, or unusual architectural detail, take a straight-on photo of the wall and note every key dimension. This gives a design team the context needed to advise on panel layout and artwork placement. Murale Design can also review a custom image before production, which is especially useful when a customer-supplied photo needs to be enlarged for a full wall.
Choosing a Personal Photo for Wall Scale
A favorite vacation image, family landscape, or original artwork can become a highly personal feature wall, but image quality matters. A file that appears sharp on a phone may not contain enough detail for large-format printing. Original camera files are usually better than screenshots, social media downloads, or images sent through text messages, which are often compressed.
Do not judge image suitability by file size alone. Resolution, focus, lighting, and the amount of enlargement all matter. A design review can identify whether the image will print cleanly at your requested dimensions and whether cropping will improve the composition. If the image is not suitable, a different crop or a professionally prepared design may provide a better result than pushing a low-quality file beyond its limits.
Prepare the Surface Before Installation
Even the right design can disappoint on an unprepared wall. Adhesive vinyl mural material performs best on smooth, clean, painted drywall. The surface should be free of dust, grease, loose paint, texture, and residue from old decals or wallpaper.
Fresh paint needs time to cure fully. Paint that feels dry to the touch may still release moisture or contain compounds that affect adhesion. Follow the paint manufacturer’s curing guidance before installing any self-adhesive wall covering. Flat, chalky, heavily textured, or damaged walls may need repair, priming, or a smoother paint finish first.
Clean the wall with a gentle, non-residue method and allow it to dry completely. Skip harsh cleaners that leave a film behind. Then inspect the surface in strong side light. Small bumps, paint drips, and patched areas become more noticeable under a large mural than they do on a plain wall.
Think Through Color, Lighting, and Furniture Placement
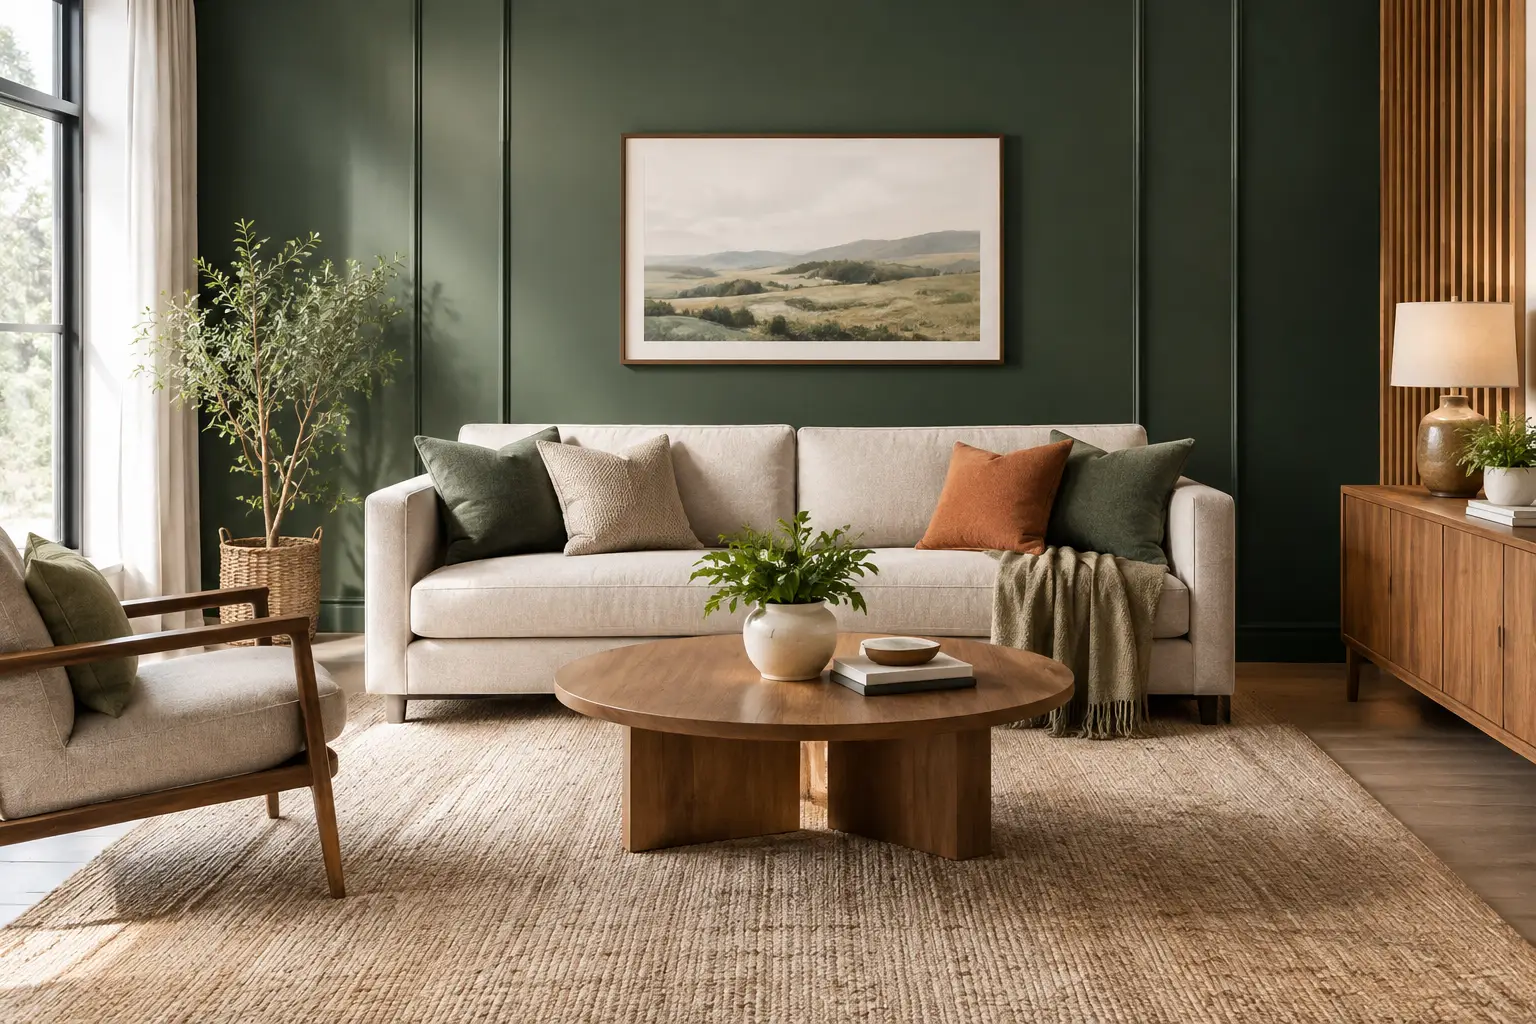
A feature wall does not need to match every pillow and accessory, but it should have a relationship with the room. Pull one or two secondary colors from the artwork into textiles, rugs, lampshades, or smaller décor pieces. This creates cohesion without turning the room into a color-matched set.
Lighting deserves equal attention. Warm bulbs can soften greens, reds, and neutrals, while cool lighting may make blues and grays appear crisper. Test your lighting at night, when the room is most likely to be used. If you are installing wall sconces, consider their final location before the mural goes up so wiring and mounting do not interrupt a key part of the image.
Furniture can also change what part of the mural is visible. Leave enough breathing room around the major visual elements when possible. A low-profile bed or sofa shows more of the design, while a tall bookcase or cabinet may call for an image with detail that remains interesting above the furniture line.
Plan for a Clean, Confident Installation
Wall murals are typically produced in vertical panels that align to create one continuous image. Before beginning, identify the panel order and lay the pieces out in sequence. Start from the recommended edge, work carefully to keep the first panel plumb, and align each following panel precisely. If the first panel is off, the error can become more visible across the wall.
Take your time around corners, outlets, and trim. A sharp utility blade, straightedge, and clean hands make a meaningful difference. Larger installations, tall walls, intricate layouts, or projects with limited downtime may be better handled by an experienced installer. This is particularly true in hospitality, retail, and office environments where the finished wall needs to look polished on a deadline.
A well-chosen feature wall changes more than one surface. It gives the room a reference point for every choice that follows, from the rug underfoot to the light in the evening. Start with the wall that deserves attention, then let the image make the space feel unmistakably yours.