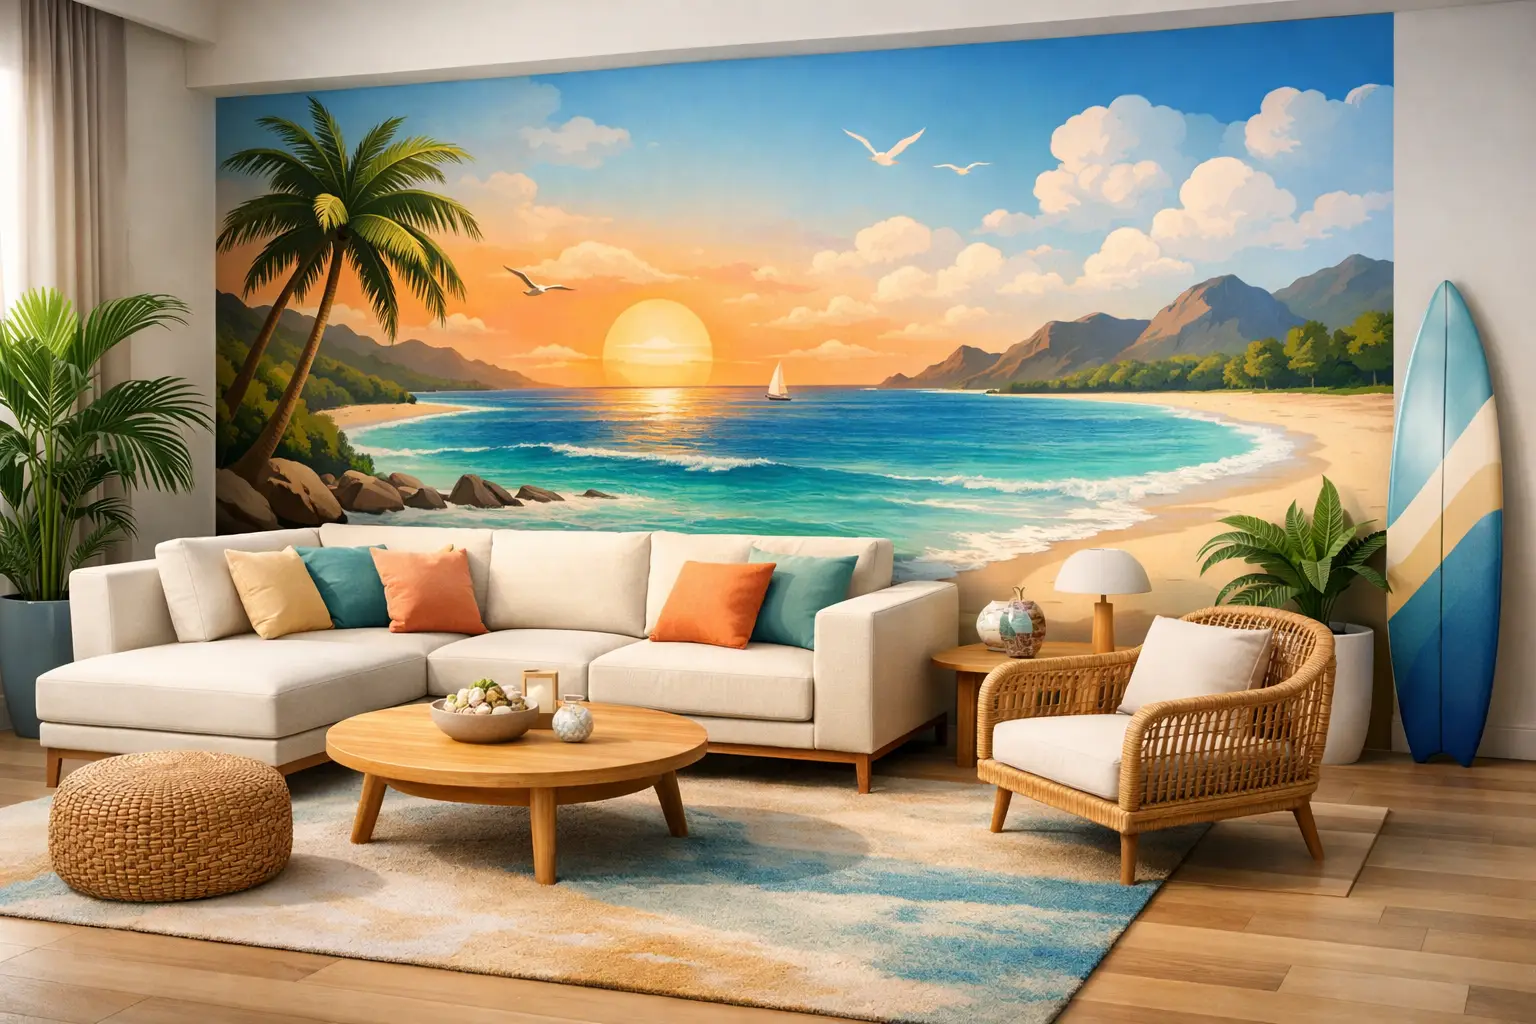
A beach mural living room can do more than add a coastal accent. At room scale, it can change the perceived depth, light, and mood of the space - turning a plain wall behind the sofa into a horizon line, a quiet dune walk, or a view that feels personal to your home. The difference between a polished result and a theme-heavy one usually comes down to the image, the wall, and the surrounding finishes.
The goal is not to make every surface look like a vacation rental. It is to use one large visual moment to create the atmosphere you want to come home to: airy, sun-warmed, dramatic, or quietly restorative.
Choose the Right Beach Mural Living Room Mood
“Beach” is a broad category, and the visual direction matters more than simply choosing an ocean scene. A bright turquoise shoreline with palms creates a lively, resort-like effect. A misty shoreline in pale gray-blue reads more tailored and calming. Sand dunes, sea grass, and muted skies tend to work especially well in living rooms with natural woods, linen upholstery, woven textures, and neutral rugs.
Start with the feeling you want from the room. If your living room is already full of color, a soft aerial coast, foggy beach, or minimal horizon can give it breathing room. If the furnishings are simple and tonal, a richly colored sunset, rocky coastline, or dramatic wave can become the focal point that gives the room its energy.
Perspective is equally important. Images with a visible horizon often make a compact room feel more open because the eye travels outward. A close-up of rolling surf, shells, or sand texture has a more intimate effect and can suit a narrow wall where a distant view might feel cropped or awkward. For a ceiling-height installation, look for artwork with enough visual interest at both the top and bottom of the image rather than a scene where all the action sits in a thin strip across the middle.
Consider the light already in the room
A sunny, south-facing living room can carry deeper blues and high-contrast photography beautifully. In a room with limited natural light, a dark stormy seascape may feel sophisticated, but it can also make the wall recede. A mural with pale sand, a soft sky, or sunlit water will reflect more available light and preserve an open feeling.
This does not mean dark imagery is off limits. A deep navy ocean mural can look exceptional behind a light cream sofa, especially with brass, oak, or warm white accents. It simply needs support from the lighting plan: table lamps, sconces, or ceiling lighting that prevents the wall from becoming a shadowy backdrop at night.
Match the Mural Scale to the Wall, Not Just the Room
Large-format wall art is most convincing when it is sized for the actual wall dimensions. A beach scene cropped without thought can leave a horizon running directly through a person’s head when seated on the sofa, or cut off the focal point of a lighthouse, boat, or shoreline.
Measure the full width and height of the intended wall, then account for permanent features such as windows, outlets, built-in shelving, and baseboards. A mural can wrap around these elements, but the composition should be reviewed before printing. For example, a clean expanse of sky or sand is often an ideal area for an outlet, while the center of a crashing wave or a distant sailboat is not.
The mural does not have to cover every wall to make an impact. A full-height installation behind a sofa gives the strongest architectural effect. On the other hand, a mural positioned above wainscoting or built-in cabinetry can feel more integrated in a traditional or transitional living room. Leaving painted wall visible below the image also gives you a useful color to repeat elsewhere in the room.
Place the horizon with intention
In most beach photography, the horizon is the strongest line in the composition. It should feel deliberate relative to furniture. A horizon that falls slightly above the back of a sofa often feels balanced, allowing the seating to visually ground the scene. If it runs far below the sofa line, much of the view may disappear. If it sits too high, the wall can look divided into unrelated areas of ocean and sky.
For an open-plan space, stand at the primary approach to the room before choosing the crop. The mural may be viewed first from a kitchen island, entryway, or dining table, not only from the sofa. That first sightline should show the image at its best.
Build a Cohesive Color Palette Around the Scene
A coastal mural does not require striped pillows, anchor motifs, or obvious nautical decor. In fact, a more restrained approach usually makes the wall feel current for longer. Pull two or three secondary colors from the mural and repeat them in materials rather than matching everything exactly.
A soft blue-gray ocean scene might pair with ivory upholstery, weathered oak, charcoal accents, and a muted green plant. A warm sunset mural can work with camel leather, terracotta ceramics, creamy textiles, and black metal details. For a tropical shoreline, balance vivid water with quieter natural materials so the room still has places for the eye to rest.
Texture helps a beach mural feel dimensional rather than flat. Linen drapery, a wool or jute rug, matte pottery, light wood, and woven baskets all complement beach imagery without competing with it. If the mural itself is highly detailed, keep nearby artwork minimal. A crowded gallery wall on adjacent walls can dilute the sense of escape created by the larger view.
Use Your Own Coastal Photo When the Place Matters
A catalog image can establish a beautiful coastal mood. A personal photo can create something more specific: the beach where your family gathers each summer, a favorite overlook, or a shoreline from a meaningful trip. For a living room, that connection often makes the mural feel less decorative and more like part of the home’s story.
Image quality is the deciding factor. A photo that looks crisp on a phone screen may not hold up across an eight-foot wall. Original camera files are preferable, and the image should be reviewed for resolution, sharpness, lighting, and how it will crop at the final dimensions. A graphic-design review is especially helpful when the image includes a horizon, people, or important details near the edges.
At Murale Design, custom projects can be evaluated before production so the final artwork is suited to the wall rather than simply enlarged. This matters because a well-chosen crop can improve a photograph dramatically, while an unsuitable file cannot be repaired by printing it larger.
Plan for Material, Panels, and Installation
A beach mural is a finished interior surface, not just an oversized poster. For a living room installation, adhesive vinyl film offers a clean wallpaper-like appearance while allowing the image to be produced to the wall’s dimensions. Durable latex inks and an anti-scratch finish are practical advantages in a high-use room, particularly near seating, pets, or active family spaces.
Before installation, the wall should be smooth, clean, dry, and properly cured if it has been recently painted. Dust, texture, peeling paint, and moisture can affect adhesion and reveal imperfections through the mural. Flat or eggshell painted drywall is generally the easiest surface to prepare. Deeply textured walls may need additional smoothing for the most refined result.
Murals are typically printed in aligned panels for handling and installation. This is normal, but it makes careful measuring essential. Confirm the wall height in more than one location, since floors and ceilings are not always level. During installation, begin from the most visible vertical edge and align each panel carefully before pressing it into place. Good lighting helps you see the overlap or seam alignment clearly.
If the wall includes complex corners, tall ceilings, or built-ins, professional installation can be worthwhile. The mural itself may be straightforward, but a complicated room can make precision difficult. For a simple, open drywall feature wall, homeowners who are comfortable with careful measuring and methodical work can often install it successfully with clear instructions.
Avoid the Most Common Coastal Design Missteps
The first misstep is choosing an image based only on subject matter. A beautiful beach photo with the wrong crop, color temperature, or perspective can still feel out of place. Always preview the full wall effect and consider what will sit in front of it.
The second is treating the mural as an isolated purchase. Your sofa, window treatments, flooring, and lighting all influence the final result. You do not need to replace the room, but you may need to edit a few accessories so the mural can lead.
Finally, resist making the scene too literal. A beach mural works best when it gives the room a sense of place, not when every object repeats the same message. Let the mural provide the view, then use furnishings to supply comfort, texture, and your own point of view.
Choose a shoreline that you would still want to look at on an ordinary Tuesday afternoon. When the image, scale, and installation are handled thoughtfully, the wall becomes more than a backdrop - it becomes the part of the living room that makes the whole space feel settled.
![Best Bathroom Mural Ideas to Elevate the Room [even for small bathroom]](/assets/documents/article/image/sans-titre.jpg)