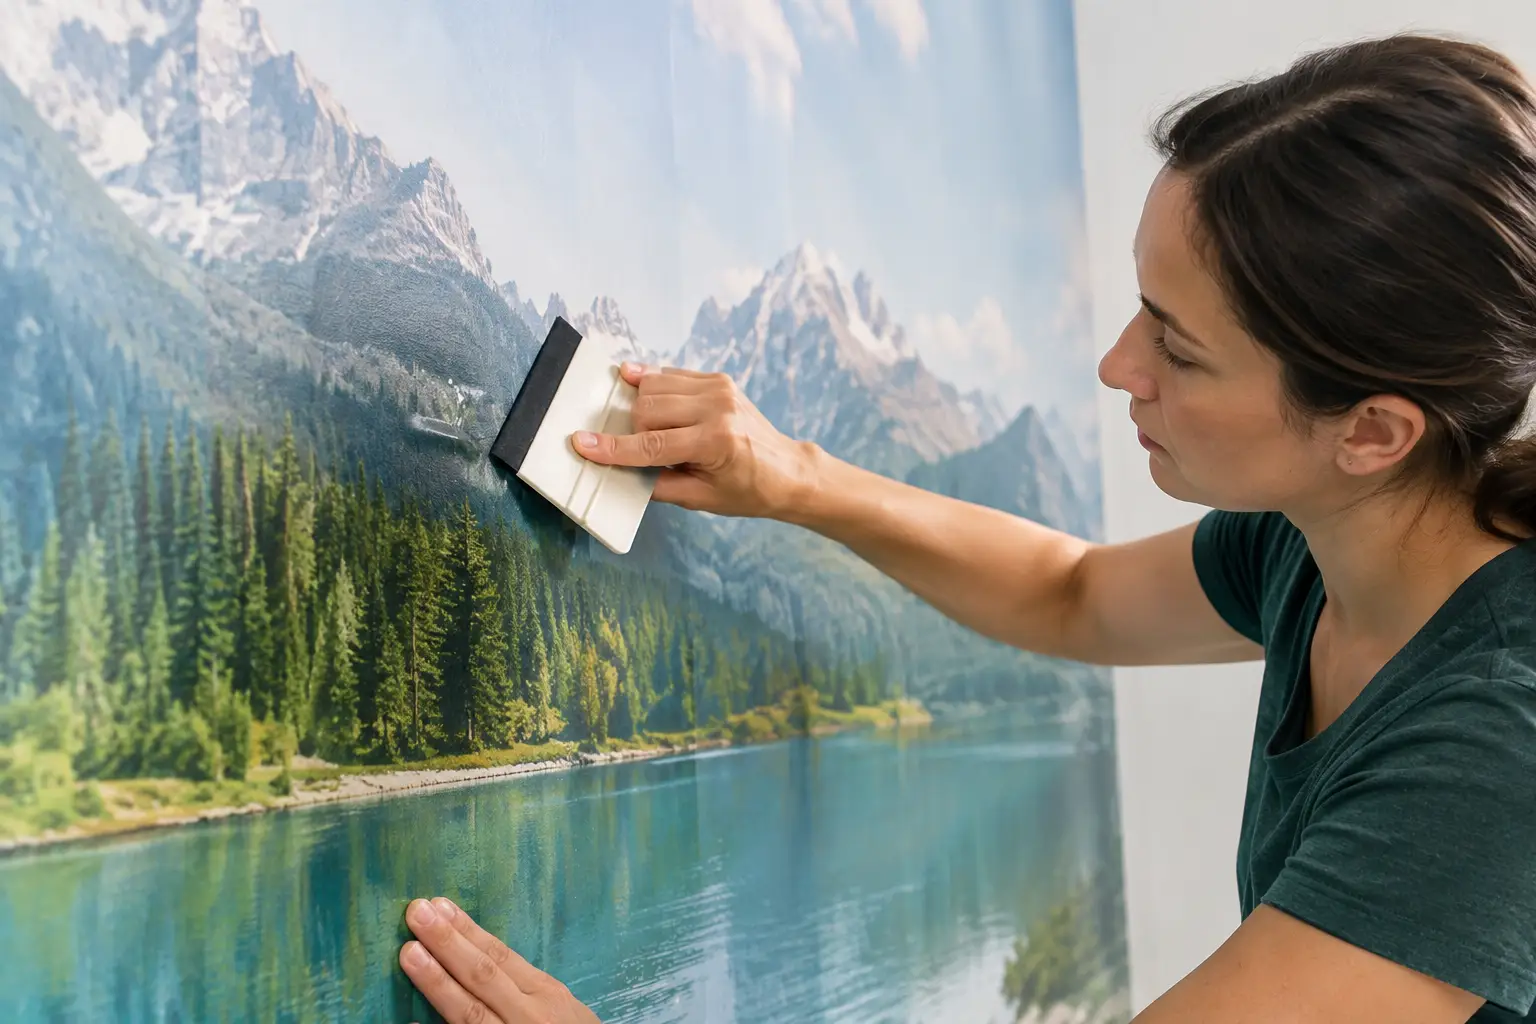
A mural can look nearly finished, then a small raised pocket catches the light across a sky, a floral petal, or a favorite family photo. The good news is that knowing how to remove air bubbles from a mural is usually less about force and more about timing, direction, and a calm hand. Most bubbles in adhesive vinyl mural wallpaper can be corrected without removing an entire panel.
Before you reach for a pin or start pulling the material back, identify what you are seeing. A true air bubble is a smooth, rounded pocket trapped beneath the mural. A wrinkle or crease is different: it means the vinyl has folded or stretched during application. Each needs a different response, and treating a wrinkle like a bubble can make the finish harder to correct.
Why Air Bubbles Form in Mural Wallpaper
Air bubbles happen when a section of adhesive vinyl makes contact with the wall before the air beneath it has been pushed out. They are common around wide panel areas, near corners, and wherever installation moves too quickly. They can also appear when the wall has dust, texture, fresh paint that has not fully cured, or residue from cleaning products.
Temperature and wall condition matter, too. A cold mural film can be less cooperative, while a wall that is humid or uneven may prevent consistent adhesion. On painted drywall, the best result starts with a clean, dry, smooth surface. Even premium mural material cannot fully disguise a wall with loose paint, deep texture, or old adhesive residue.
Small bubbles sometimes become visible after installation as the mural settles against the wall. This does not always signal a problem. If the panel is properly aligned and firmly adhered, give tiny pinhead-sized bubbles a little time before intervening. Larger bubbles, especially those that catch the eye from across the room, are worth correcting right away.
How to Remove Air Bubbles From a Mural
Start with a clean felt-edge squeegee or a soft plastic application tool. Avoid metal scrapers, credit cards with sharp corners, or anything that could score the printed surface. Murale Design murals are made with durable latex inks and an anti-scratch finish, but a smooth tool and controlled pressure are still the safest approach.
Work from the outer edge of the bubble toward the nearest open edge of the panel. Place the squeegee just beyond the bubble and use short, overlapping strokes to guide the trapped air outward. Do not press straight down in the center and hope the air will disappear. That often shifts the pocket under a different part of the mural.
For a bubble close to a side edge, push the air horizontally toward that edge. For one near the top or bottom, work vertically toward the nearest boundary. Keep one hand lightly against the mural to stabilize it while the other hand moves the squeegee. This reduces the chance of stretching the vinyl, which can create distortion in straight lines, maps, architectural images, and repeated patterns.
If the bubble is large and the mural was installed only recently, carefully lift the nearest edge of the affected area just enough to release the trapped air. Then lay the film back down gradually, using the squeegee from the lifted section toward the adhered area. Do not peel back more material than necessary. Releasing a small section is controlled; lifting half a panel can introduce new air pockets or affect alignment.
When a Tiny Pinhole Is the Right Fix
A fine pinhole can help with a stubborn, isolated bubble that cannot be pushed to an edge. Use a new, very fine needle and make one tiny puncture at the outermost edge of the bubble, not in its center. Then press the air toward that point with a felt squeegee or a clean microfiber cloth.
This method should be the exception, not the first move. A larger hole can remain visible, collect dust, or allow the vinyl to lift over time. It is also not a good solution for a crease, a broad rippled area, or a bubble caused by debris under the mural. If you feel a grain of dust or a raised paint chip beneath the material, the panel may need to be gently lifted and the obstruction removed instead.
Avoid Heat Unless You Understand the Trade-Off
Some installers use gentle heat to make vinyl more pliable around difficult areas. For a flat interior mural wall, heat is rarely necessary for a standard air bubble and can do more harm than good. Too much heat may stretch the film, alter its shape, or make it harder to reposition cleanly.
If a room is unusually cool, bringing it to a comfortable indoor temperature before installation is a better solution than applying direct heat after the fact. The goal is stable material and steady adhesion, not soft vinyl that is easy to overwork.
What to Do if the Bubble Keeps Returning
A bubble that returns after being smoothed out usually points to an underlying issue. The wall may have been dusty, recently painted, or affected by moisture. It can also mean that an area of texture or damaged paint is preventing full contact between the adhesive and drywall.
Inspect the spot closely in natural light. If the mural is lifting at an edge, press it back into place with deliberate, outward strokes rather than repeatedly rubbing the same point. If the area feels rough beneath the film, avoid forcing it flat. Forcing the vinyl over a raised surface can create a visible ridge or eventually damage the print.
In some cases, the smartest choice is to pause rather than keep adjusting. Adhesive vinyl responds best to purposeful corrections. Excessive lifting, pulling, and reapplying can weaken adhesion and make a small imperfection more noticeable than the original bubble.
Preventing Bubbles on the Next Panel
The easiest way to remove air bubbles from mural wallpaper is to avoid trapping them during installation. Begin with a wall that is clean, dry, and fully cured after painting. Wipe away dust, oils, and loose debris, then allow the wall to dry completely. A smooth painted drywall surface gives the adhesive vinyl the most reliable contact.
Install one portion at a time instead of exposing a large amount of adhesive backing at once. As the panel is lowered onto the wall, use overlapping squeegee strokes from the center outward. This gives air a clear path to escape before the film fully adheres. Slow, consistent pressure creates a better result than fast, heavy pressure.
Panel alignment deserves the same patience. If a mural has multiple panels, confirm that the first panel is plumb before continuing. A panel installed slightly off line can tempt you to pull and stretch the next one into position, increasing the risk of bubbles and wrinkles. With custom murals, careful measurement before production and careful alignment during installation work together.
It also helps to inspect each section as you go. Step back after smoothing several feet of material, then look at the wall from an angle. Side lighting reveals small raised areas that may not be obvious when you stand directly in front of the mural. Correcting them while the panel is still accessible is far easier than returning after the full wall is complete.
When Professional Installation Makes Sense
Most flat, prepared walls are manageable for careful DIY installation. Still, professional help is worth considering for oversized murals, high ceilings, commercial spaces, heavily textured walls, or installations with tight pattern matching. The cost is a trade-off against the time, material, and stress involved in correcting a panel that has been stretched or misaligned.
For a custom image, preparation begins before the mural arrives. A high-resolution file, accurate wall measurements, and a design review can prevent disappointment at room scale. Murale Design can help evaluate image quality and produce mural panels sized for the wall, so installation starts with a design that is made for the space rather than adapted at the last minute.
A few air bubbles do not have to take attention away from a dramatic forest scene, a nursery illustration, or a personal photo enlarged for a feature wall. Work slowly, guide the air toward an escape route, and stop before a simple correction turns into unnecessary handling. A smooth finish is usually the result of patience at the wall, not pressure against it.
![Best Bathroom Mural Ideas to Elevate the Room [even for small bathroom]](/assets/documents/article/image/sans-titre.jpg)