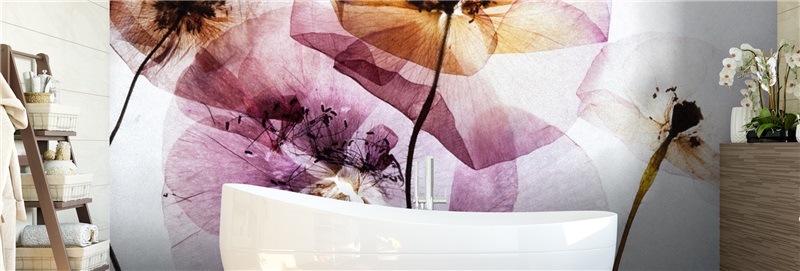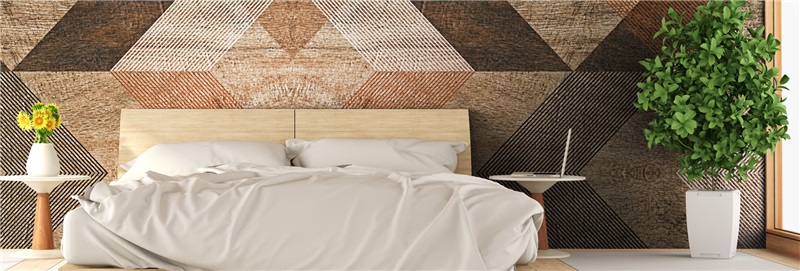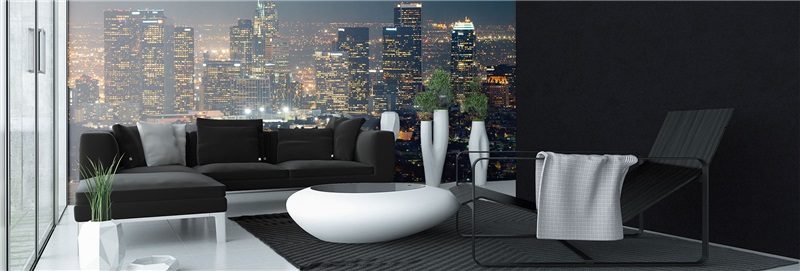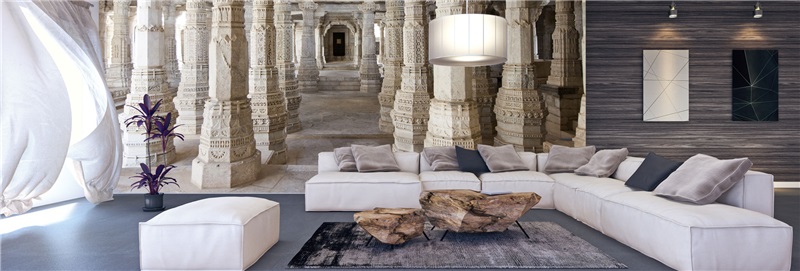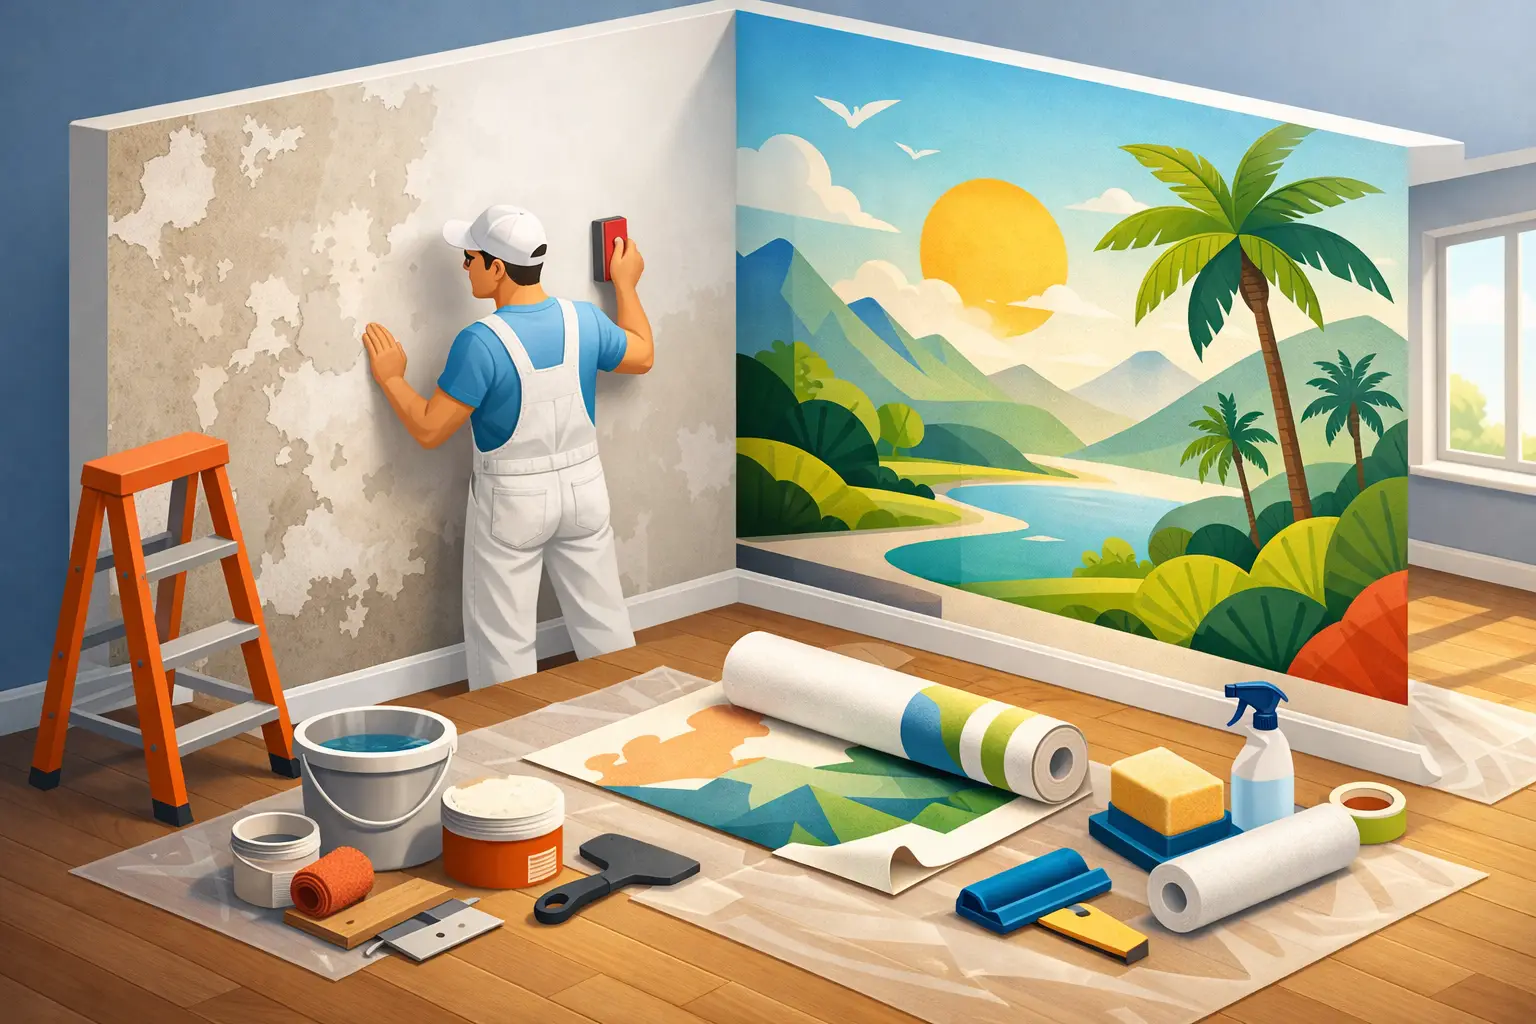
A mural can make a small nursery feel like a woodland escape or give an office wall the presence of a gallery-scale landscape. But the print can only look as refined as the surface beneath it. To prepare a wall for mural wallpaper, focus first on what you can see and feel: dust, texture, loose paint, old adhesive, dents, and incomplete paint curing can all affect how adhesive vinyl bonds to drywall.
Murale wallpaper is designed to create a clean, continuous visual field. That means a minor wall flaw that disappears behind ordinary paint may become noticeable beneath a pale sky, a detailed world map, or a large personal photograph. A little preparation protects both the finished look and the long-term hold of your wall covering.
Start with the right wall surface
A smooth, sound, painted drywall surface is the best starting point for self-adhesive mural wallpaper. The wall should be dry, clean, and stable, with no flaking paint or loose drywall paper. Satin, eggshell, and semi-gloss painted walls generally provide a dependable surface once fully cured and cleaned. Flat paint can also work when it is in good condition, although it may hold more dust and can be more prone to lifting if the paint itself is weak.
Fresh drywall deserves extra attention. Joint compound must be fully dry, sanded smooth, and sealed with a quality primer before painting or applying a mural. Unsealed compound is porous, so it can create uneven adhesion and leave visible changes in the wall surface.
Texture is the other key consideration. Light orange peel may be acceptable for a busy forest, floral, or abstract design, but it can show through a mural with broad areas of solid color or crisp architectural lines. Heavy orange peel, knockdown texture, popcorn texture, brick, and rough plaster should be skim-coated or otherwise smoothed before installation. The more detailed and high-contrast the image, the less forgiving the wall can be.
Check for issues before you prepare a wall for mural wallpaper
Stand a few feet from the wall, then inspect it from the side with a lamp or flashlight held at an angle. This raking light reveals dents, raised patch edges, paint ridges, and leftover adhesive that overhead lighting can hide.
Run a clean hand across the full installation area. If you feel grit, bumps, or peeling edges, address them now. Do not assume the mural will conceal every imperfection. Adhesive vinyl conforms closely to the wall, which is exactly what gives it a polished, painted-on appearance when the substrate is properly prepared.
Also look for signs of moisture: staining, bubbling paint, a musty odor, or a wall that feels damp or unusually cold. A mural should never be installed over an active leak, condensation issue, or mold concern. Solve the moisture source first, let the wall dry completely, and repair the finish before measuring for production.
Repair holes, cracks, and damaged paint
Small nail holes, picture-hanger marks, and shallow dents should be filled with lightweight spackle or joint compound. Apply thinly, let it dry according to the product directions, then sand until the patch is level with the surrounding wall. Wipe away sanding dust before moving forward.
For larger dents, drywall seams, or cracks that keep returning, use the repair method appropriate to the underlying problem. A crack at a moving seam may need tape and compound rather than a quick surface fill. Covering an unstable repair with a mural can make the issue harder to correct later.
Scrape away loose or peeling paint until you reach a firmly bonded edge. Feather-sand that edge so there is no raised line, then prime the exposed area. If the wall has multiple patches or substantial repairs, repainting the entire mural area often creates the most consistent base. It is a small extra step that can prevent uneven texture and make future removal cleaner.
Clean without leaving a residue
Even a wall that looks clean can hold household oils, cooking residue, pet hair, dust, and aerosol product buildup. These contaminants interfere with adhesive contact. Cleaning is especially worthwhile in kitchens, entryways, children’s rooms, and spaces near HVAC vents.
Use a soft cloth or non-abrasive sponge with a mild, non-oily cleaner and water. Avoid waxes, polish, silicone sprays, strong degreasers, and cleaners that leave a protective film behind. Then wipe the wall again with a clean damp cloth to remove cleaner residue.
Let the wall dry fully before installation. This is not a step to rush with a mural in hand. The surface should feel dry at room temperature, including patched areas and corners where moisture can linger. A dry wall provides a more predictable bond and makes it easier to position panels accurately.
Respect paint and primer cure times
Dry to the touch is not the same as cured. Fresh paint can feel dry within hours while it continues releasing moisture and solvents for days or weeks. Installing mural wallpaper too soon may reduce adhesion or pull paint away if the mural is later repositioned or removed.
Follow the paint or primer manufacturer’s stated cure time. For many water-based interior paints, waiting at least two to three weeks is a sensible baseline, but product instructions take priority. Humid conditions, cool temperatures, and multiple coats can extend the process.
If you are planning a wall specifically for a mural, choose a good-quality interior primer and paint system, allow it to cure completely, and avoid highly stain-resistant or dirt-repellent coatings unless their manufacturer confirms they are suitable for adhesive films. Those specialty finishes can be useful in high-traffic rooms, but some are intentionally designed to resist bonding.
Make the installation area practical
Preparation also means giving yourself room to work. Move furniture away from the wall, remove outlet covers and switch plates, and take down artwork, curtain hardware, or wall-mounted accessories within the mural area. Turn off power at the breaker before removing electrical cover plates, and keep screws organized for reinstallation.
Check that baseboards, crown molding, and trim are secure. A mural can be trimmed neatly around fixed details, but loose trim should be repaired first. If you are covering a wall with a door, window, or several outlets, measure carefully and communicate every obstruction when ordering a custom mural. Accurate wall dimensions and placement details help ensure the image composition and panel layout suit the space.
Room conditions matter on installation day as well. Work in a clean, dry, climate-controlled room. Avoid applying material to a wall that has just been cleaned, painted, or exposed to unusually high humidity. Keep pets, dusty renovation work, and strong airflow away from the immediate area while panels are being installed.
Do a final surface and layout check
Right before installation, wipe the wall with a clean, dry microfiber cloth. Then confirm your measurements one more time. Measure width in several places, because walls are not always perfectly square, and measure height from the floor or baseboard line you intend to use. For a custom design, verify which edge contains the first panel and review the image before peeling any backing.
Open the mural carefully and lay out the panels in order on a clean floor or large table. Check the design sequence, overlap instructions if provided, and the direction of any obvious visual elements such as a skyline, tree line, or horizon. This takes only a few minutes and can prevent a panel-order error that is difficult to spot once adhesive has contacted the wall.
A well-prepared wall does more than help mural wallpaper stick. It lets the color, scale, and detail of the design do the work you chose it for. Take the extra time to create that clean foundation, and your finished wall will feel intentional from the first panel to the final trimmed edge.
![Best Bathroom Mural Ideas to Elevate the Room [even for small bathroom]](/assets/documents/article/image/sans-titre.jpg)