
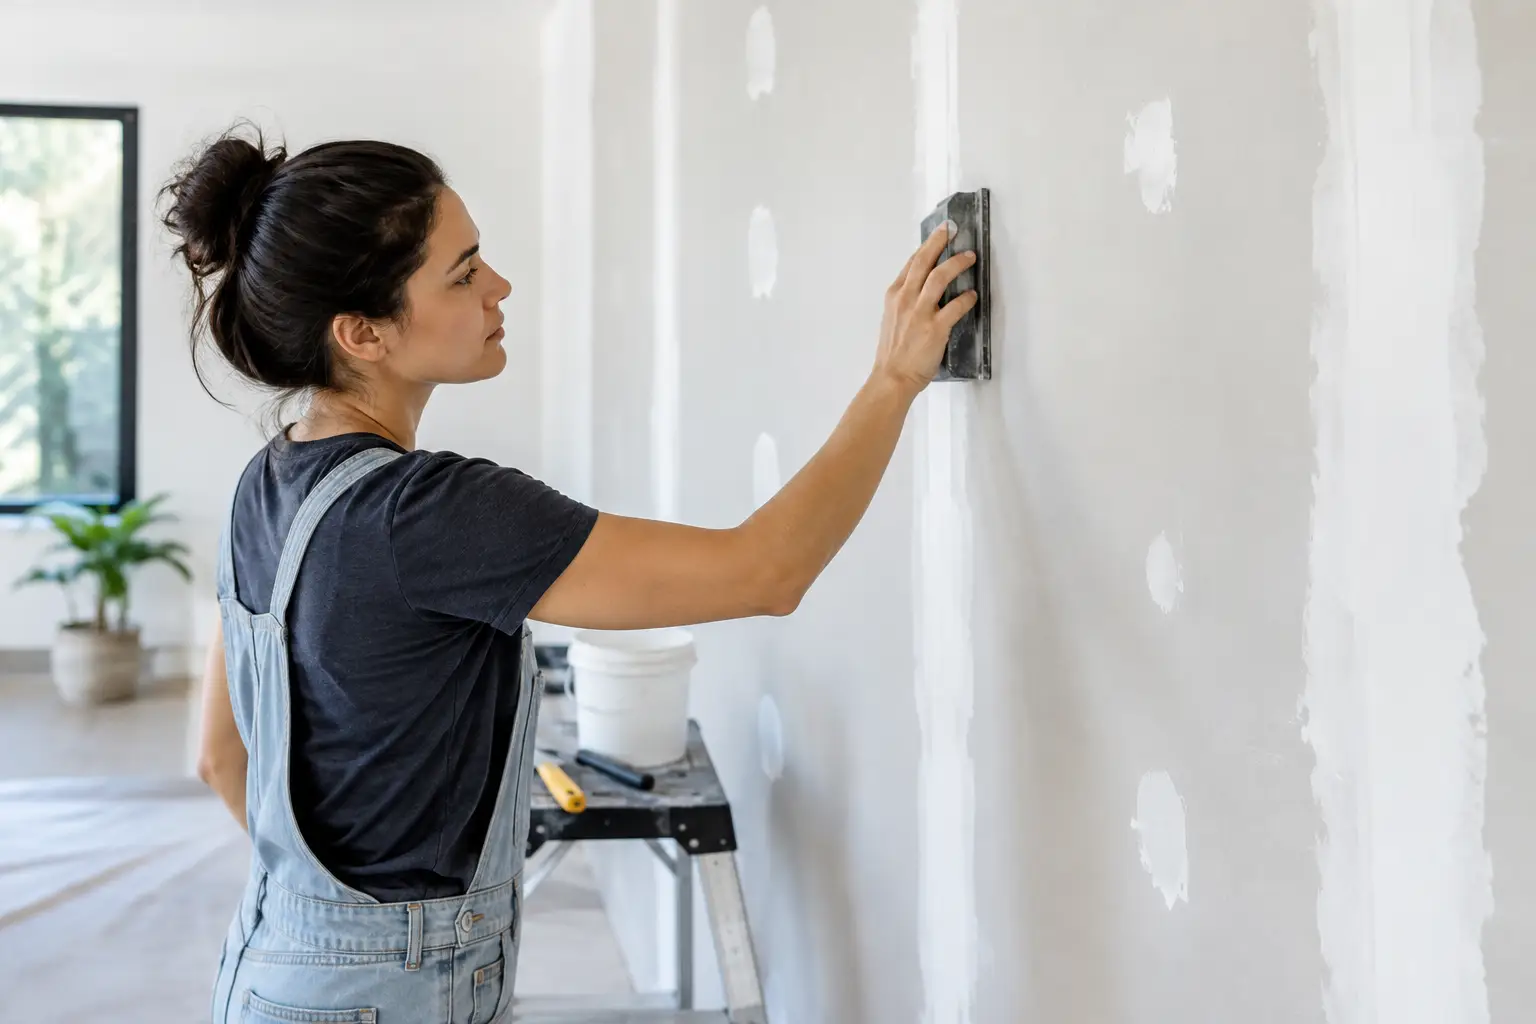
A wall mural can make an ordinary bedroom, office, nursery, or reception area feel intentionally designed. But the print is only part of the finished result. When you prepare drywall for mural installation correctly, the material lays flatter, panels align more cleanly, and the adhesive has the stable surface it needs to hold well over time.
Drywall is not automatically ready just because it has been painted. Small dents, dusty paint, fresh patch compound, and heavy texture can all show through a large-format wall covering or affect adhesion. A little careful preparation protects both your wall and the visual impact of the mural you chose.
Start with a dry, stable wall
Before cleaning or priming, look closely at the condition of the wall itself. It should be dry, sound, and free from active moisture issues. A mural should not be used to cover a leak, condensation problem, or damaged drywall. If you see staining, bubbling paint, soft areas, or recurring mildew, resolve the source of moisture first and allow the wall to dry completely.
This matters especially on exterior walls, in basements, near bathrooms, and around windows. Adhesive vinyl wall murals are designed for painted drywall installations, but no adhesive performs reliably on a wall that is damp or deteriorating underneath.
Check for loose paint as well. Run a strip of painter's tape over a few questionable areas, press it down, then remove it. If paint flakes off with the tape, the surface needs more attention before installation. Scrape away anything loose, feather the edges with fine sandpaper, patch as needed, and repaint the repaired area.
Repair what a mural may reveal
Large wall graphics are far more revealing than many people expect. Light-colored skies, minimalist patterns, and smooth gradients can make a shallow dent or raised patch line surprisingly visible. Even a detailed forest, cityscape, or floral design benefits from a wall that feels smooth to the hand.
Fill nail holes, small dents, and minor cracks with a quality spackling compound or joint compound. For larger damage, use the appropriate drywall repair method rather than trying to fill a deep hole in one heavy application. Let repairs dry fully, then sand them until the transition from patch to painted wall is difficult to feel.
Use a fine-grit sanding sponge or sandpaper and work gently. The goal is a level surface, not an aggressively sanded one. Wipe away sanding dust afterward with a clean, dry microfiber cloth or a vacuum with a soft brush attachment.
Address texture before ordering or installing
Light orange-peel texture can sometimes be acceptable, depending on the mural material and the look you want. Heavier texture, knockdown finishes, prominent roller marks, and rough patchwork are less forgiving. They may create tiny visible peaks beneath the mural and reduce the contact area available to the adhesive.
For the cleanest result, smooth pronounced texture with a skim coat, allow it to dry, sand it level, and prime before painting. This adds preparation time, but it is usually worthwhile on a feature wall where the mural is meant to be the room's focal point.
If you are unsure whether a wall's texture is too pronounced, use a simple test: place a straightedge against several areas of the wall. If there are obvious gaps or raised ridges, plan to smooth the surface. For a custom project, taking a few well-lit wall photos can also help you discuss the surface with a print and installation professional before production.
Clean away dust, grease, and residue
A wall can look clean while still carrying residue that interferes with adhesion. Kitchens, hallways, playrooms, and office walls near vents are common trouble spots. Remove dust, grease, fingerprints, and any leftover adhesive from hooks or decals before moving forward.
For most painted drywall, wipe the wall with a mild, non-residue household cleaner diluted according to its instructions. Avoid oily cleaners, furniture polish, or products that leave a glossy protective film. Rinse with a clean damp cloth if needed, then let the wall dry completely.
Do not skip the drying time. Moisture trapped in the paint surface or drywall can compromise an otherwise careful installation. A wall should feel clean and dry, with no tackiness from cleaner or paint.
Choose the right paint finish and primer
Flat, matte, eggshell, or satin painted drywall is generally the most mural-friendly surface. These finishes give adhesive vinyl a consistent, stable surface to bond to. Very glossy paint can be more challenging because it may reduce grip, particularly if it has been cleaned with shine-enhancing products.
If your wall is glossy, lightly scuff-sand it to remove the slick surface, clean away the dust, and apply a suitable primer or paint coat. A high-quality acrylic primer is particularly useful over fresh drywall repairs, unevenly porous areas, or walls that have been skim-coated. It helps create a more uniform surface so the mural does not encounter alternating paint and absorbent compound underneath.
Primer is not a substitute for repair work. It will not hide ridges, deep scratches, or heavy texture. Think of it as the finishing layer that evens out the wall after it has been repaired and cleaned.
Give fresh paint adequate time to cure
Freshly painted walls often feel dry long before they are fully cured. Installing too soon can lead to adhesion issues or paint pull-off later when the mural is removed. Follow the paint manufacturer's curing guidance. As a practical rule, allow at least several days after painting, and longer when humidity is high, temperatures are cool, or multiple coats were applied.
Do not rely on touch alone. A surface that feels dry may still be releasing moisture or solvents. Planning your paint and mural schedule in advance is one of the easiest ways to avoid a rushed installation.
Measure the wall after preparation
Measure once the wall is repaired, painted, and ready. Record the full width and height in inches, taking measurements in more than one place. Walls are not always square, and ceiling lines, baseboards, and corners can vary more than expected in older homes or commercial spaces.
Measure the width at the top, middle, and bottom, then use the largest measurement. Measure the height at the left, center, and right, and again use the largest number. It is wise to include a small allowance for trimming during installation, particularly when walls are uneven.
Also note obstacles before ordering: outlets, switches, vents, windows, doors, built-ins, wall sconces, and return-air grilles. Their placement affects panel layout and may influence where you want the image centered. A mountain peak, a face in a portrait, or a key detail in a custom photo should not land behind a thermostat.
Murale Design can produce murals to custom dimensions and review customer-supplied images before printing. That is especially helpful when a wall has unusual proportions or when a personal photo needs to carry crisp detail across a large area.
Prepare the room, not just the drywall
Clear furniture away from the wall so there is room to handle full mural panels without bending or dragging them. Remove outlet covers, switch plates, lightweight wall décor, and hardware that would get in the way. Turn off power at the breaker before removing electrical cover plates, and keep screws organized for reinstallation.
Set aside a clean area for panels and installation tools. Dusty floors, crowded workspaces, and poor lighting make alignment harder than it needs to be. Good light is particularly useful for checking seams, smoothing the material, and trimming at the ceiling or baseboard.
Room temperature matters, too. Install under normal indoor conditions rather than in an unusually cold, hot, or humid space. If the mural has arrived after shipping in very cold weather, let it acclimate indoors before beginning. This helps the material relax and makes handling more predictable.
Avoid the shortcuts that create expensive rework
The most common mistakes are installing over dirty walls, trying to hide major texture, applying a mural over uncured paint, and assuming a wall is square without measuring. Another tempting shortcut is to patch directly before installation without sanding and priming. That may save an hour at first, but it can create visible flaws across a wall-sized design.
Preparation does not need to be complicated. It needs to be honest about the condition of the surface. Repair what is loose or uneven, clean what is dusty or greasy, give paint time to cure, and measure with care. Then your mural has the right foundation to look intentional from the first panel to the final trimmed edge.
A well-prepared wall gives the artwork room to do its job: turning a blank surface into the part of the room people remember.