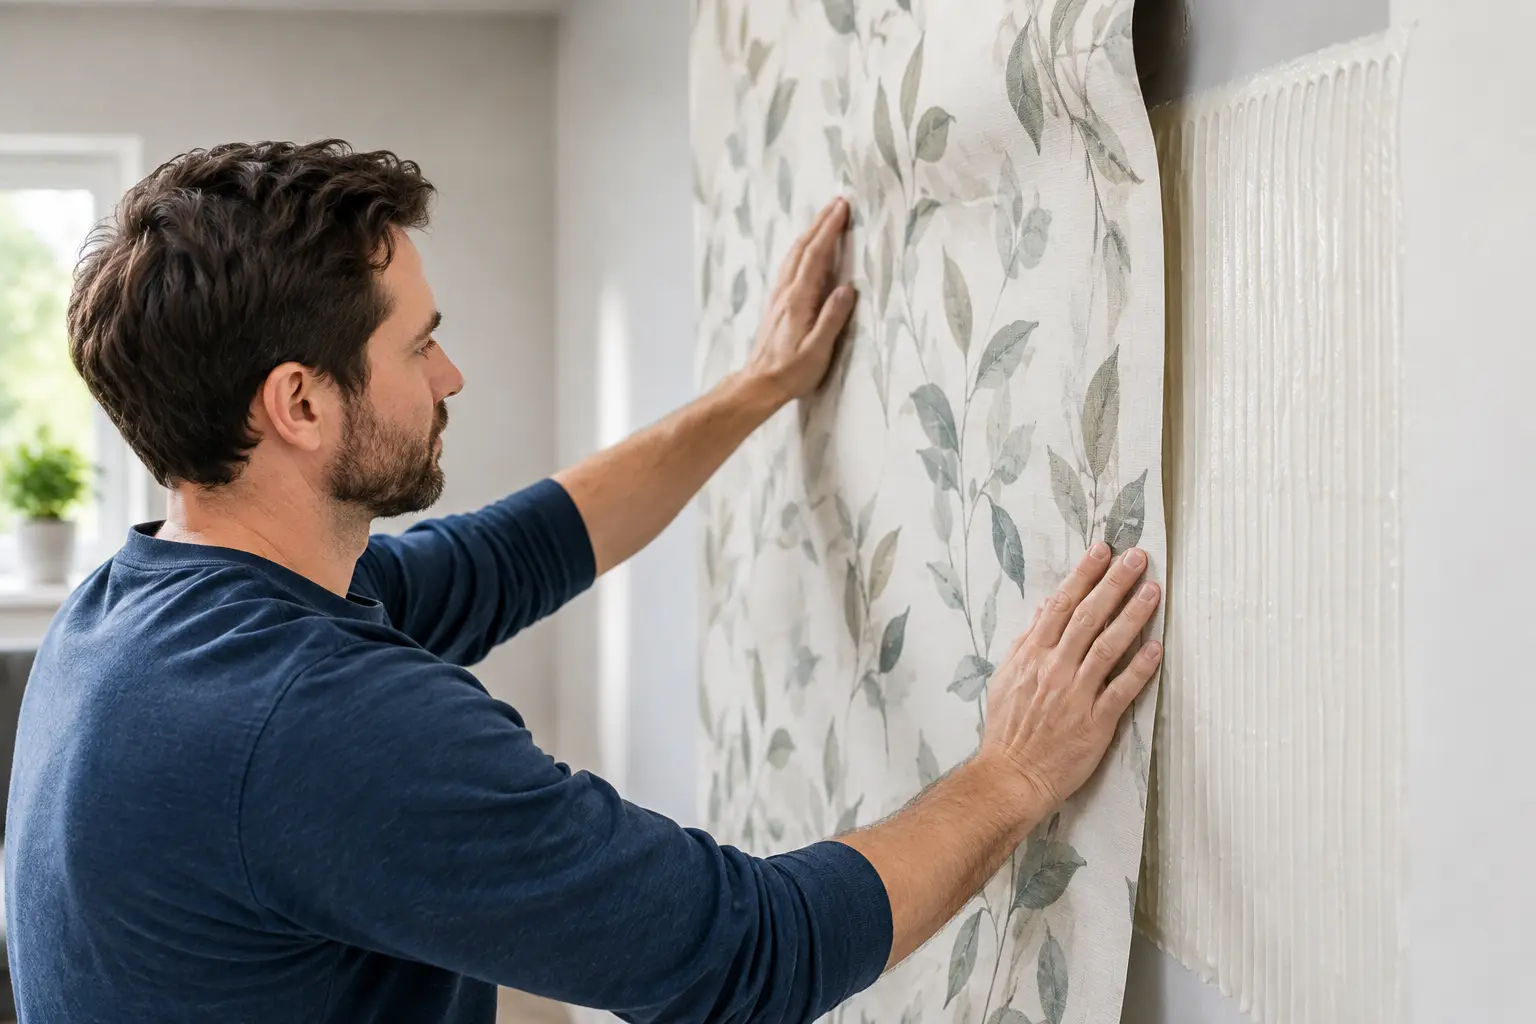
A wall mural can look perfectly printed and still disappoint if the adhesive cannot make consistent contact with the wall. Mural adhesive performance is determined less by one dramatic factor than by a series of practical details: the wall finish, surface cleanliness, curing time, room conditions, and installation method. Get those details right, and a custom mural becomes a dependable part of the room rather than a project you need to revisit.
For most residential feature walls, professionally printed adhesive vinyl is designed to adhere securely to properly prepared painted drywall. It provides a clean, wallpaper-style finish without requiring paste. But adhesive is not a universal fix for every wall surface. Understanding where it performs best helps you choose the right location, prepare it properly, and protect the finished result.
What Determines Mural Adhesive Performance?
An adhesive mural relies on direct, even contact between the film and the wall. If dust, texture, moisture, fresh paint additives, or loose paint sit between the adhesive and the surface, the bond can be weaker than expected. This is why a mural is not simply a decorative print to place on any available wall. It is a precisely made wall covering that benefits from a sound installation surface.
Painted drywall with a smooth or lightly textured finish is typically the most suitable application. The wall should be structurally sound, dry, and free of peeling paint. Flat, eggshell, satin, and low-sheen finishes can work well when fully cured and clean, although the exact paint formulation matters. Paints marketed as stain-resistant, washable, low-VOC, or highly washable may include additives that reduce adhesion. A small test piece is especially useful when the wall has an unfamiliar finish.
Texture is another consideration. Light orange peel may be acceptable, depending on its depth, but heavy texture creates air gaps beneath the vinyl. Those gaps can make the mural look uneven and may allow edges to lift over time. Brick, unfinished plaster, rough stucco, heavily textured walls, and damaged drywall generally require a different approach or surface preparation before installation.
Fresh Paint Needs Time to Cure
A freshly painted wall can feel dry within hours, but that does not mean it is ready for adhesive vinyl. Paint continues curing after it is dry to the touch, releasing moisture and solvents as it hardens. Applying a mural too soon can interfere with adhesion and, in some cases, affect the paint when the mural is repositioned or removed.
Allow new paint to cure according to the paint manufacturer's guidance before installing a mural. For many interior paints, this means waiting several weeks rather than a few days. Planning the mural after the painting schedule, rather than immediately after it, protects both the wall finish and the installation.
Wall Preparation Is Where Performance Begins
Good preparation is not complicated, but it should not be rushed. Start by inspecting the wall in strong, angled light. Look for flaking paint, patched areas that were not sanded smooth, nail holes, greasy marks, and dust gathered near baseboards or trim. Repair and smooth imperfections before the mural arrives when possible, since large-scale imagery can make small surface issues more visible.
Then clean the wall with a mild, non-residue cleaner appropriate for painted surfaces. Avoid products that leave a polish, oil, or fragrance coating behind. After cleaning, give the wall time to dry completely. A wall may look clean while still holding moisture in small repairs or around areas recently wiped down.
Before installation, remove outlet covers, switch plates, and obstacles that could force unnecessary cutting. If a mural will meet trim, cabinetry, or a ceiling line, measure those areas carefully. Custom sizing reduces waste and makes alignment easier, but accurate site measurements are still essential. Measure the wall in more than one place, particularly in older homes where ceilings and corners may not be perfectly square.
Installation Conditions Affect the Bond
Adhesive murals are easier to handle and apply in a stable indoor environment. A very cold wall can make the material less cooperative during installation, while excessive heat or humidity can complicate handling and surface preparation. Work in a clean, dry room at a comfortable indoor temperature, with enough space to lay out panels in their numbered order.
Start with a straight reference line rather than assuming the corner is square. The first panel sets the visual direction for the entire mural. If it begins even slightly off level, the error can become noticeable by the last panel, especially with designs that include architecture, map lines, horizons, or geometric patterns.
Peel and apply gradually. Press the mural into place from the center outward using a suitable smoothing tool, working in controlled sections instead of removing the entire backing at once. This helps push out air and creates even contact across the adhesive. If a panel needs slight adjustment, make it early and carefully. Repeated lifting can reduce the adhesive's grip, particularly on challenging paint finishes.
For multi-panel murals, match the printed image first and follow the intended panel overlap or butt-joint method supplied with the product. Do not stretch the material to force a match. Vinyl can distort under tension, and stretched panels are more likely to pull back at edges or around corners later.
Where Adhesive Vinyl Performs Best
A prepared interior drywall surface is the ideal setting for adhesive mural film. Bedrooms, living rooms, nurseries, home offices, hallways, and finished basements often offer excellent conditions, provided the wall is dry and the paint is stable. The same applies to many commercial interiors, including offices, boutiques, wellness spaces, reception areas, and client-facing rooms.
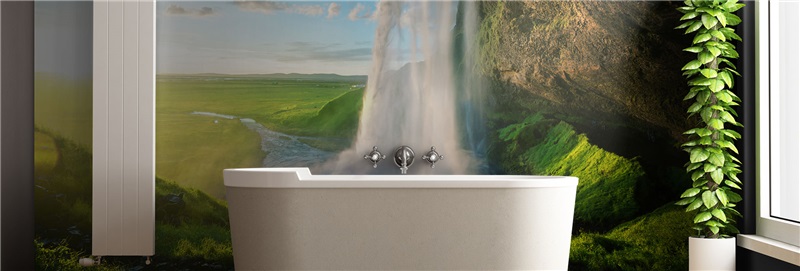
Performance becomes more variable in areas exposed to persistent humidity, heat, grease, or frequent water contact. A mural near a bathroom vanity may be suitable if the room is well ventilated and the wall stays dry. A wall directly behind a stove, inside a shower enclosure, or in a poorly ventilated damp room is a less predictable choice. The issue is not only moisture reaching the mural's edges. Humidity can affect the wall surface and the adhesive bond over time.
Exterior walls can also require extra care. If a wall is cold, poorly insulated, or prone to condensation, solve that building-condition issue before installing a mural. Decorative film should not be used to cover signs of moisture damage, mildew, or failing paint.
Print Quality and Adhesion Work Together
Adhesive performance is only one part of how a mural looks over time. The print surface must also stand up to normal life in the room. Latex inks and an anti-scratch finish help custom wall graphics retain their color and resist minor scuffs from everyday contact. This matters in busy spaces such as children's rooms, hallways, retail settings, and offices where a feature wall may be touched more often than expected.
Still, scratch resistance does not mean the mural should be treated like a washable tile surface. Use a soft, lightly damp cloth for gentle cleaning when needed, and avoid abrasive pads, harsh solvents, or aggressive scrubbing. Protecting the print surface also protects the crisp detail that makes a large-format image feel intentional from across the room and up close.
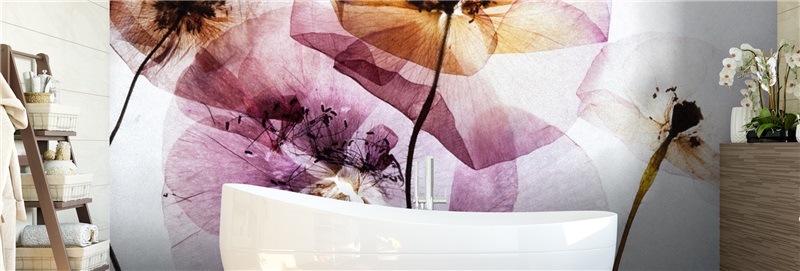
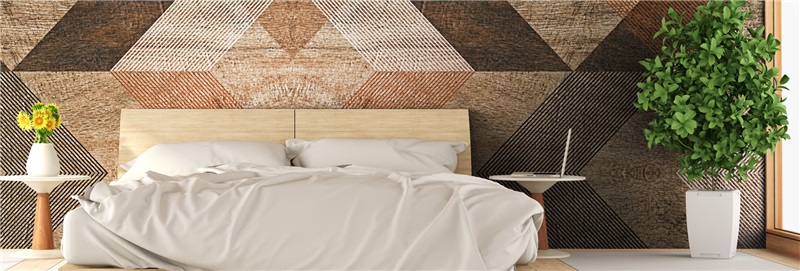
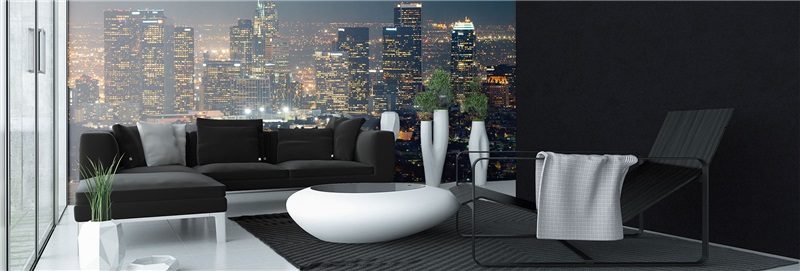
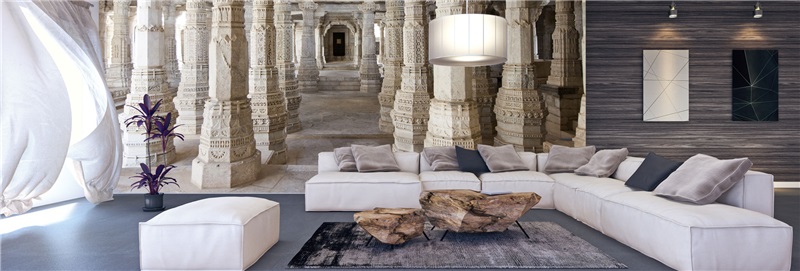
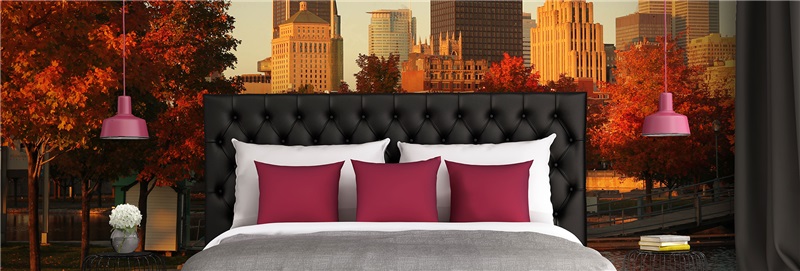
Image choice plays a role, too. A soft forest scene, abstract design, or oversized floral can be forgiving on a wall with minor visual irregularities. A high-contrast grid, city skyline, or close-up personal photograph calls for more careful wall preparation and panel alignment. Murale Design reviews customer image files before production because a room-scale print needs enough resolution and appropriate cropping to look convincing at its finished size.
Warning Signs to Address Early
A small edge that will not stay down, bubbles that return after smoothing, or visible lifting near a patch of paint are signals to pause and inspect the surface. Do not simply press harder and hope the problem disappears. Check for dust, texture, a paint issue, or a wall that was not fully dry.
If only a small section is affected, careful reapplication may solve it. If the issue occurs across multiple panels, the wall finish or installation conditions may be the underlying cause. This is one reason design assistance and installation guidance are valuable on custom projects: a mural is made for a specific wall, and the installation plan should respect the conditions of that wall.
A well-chosen mural deserves more than a quick application. Give the wall time to cure, prepare it with care, and install each panel with patience. The payoff is a feature wall that holds its place, keeps its visual impact, and continues to make the room feel distinctly yours.
![Best Bathroom Mural Ideas to Elevate the Room [even for small bathroom]](/assets/documents/article/image/sans-titre.jpg)