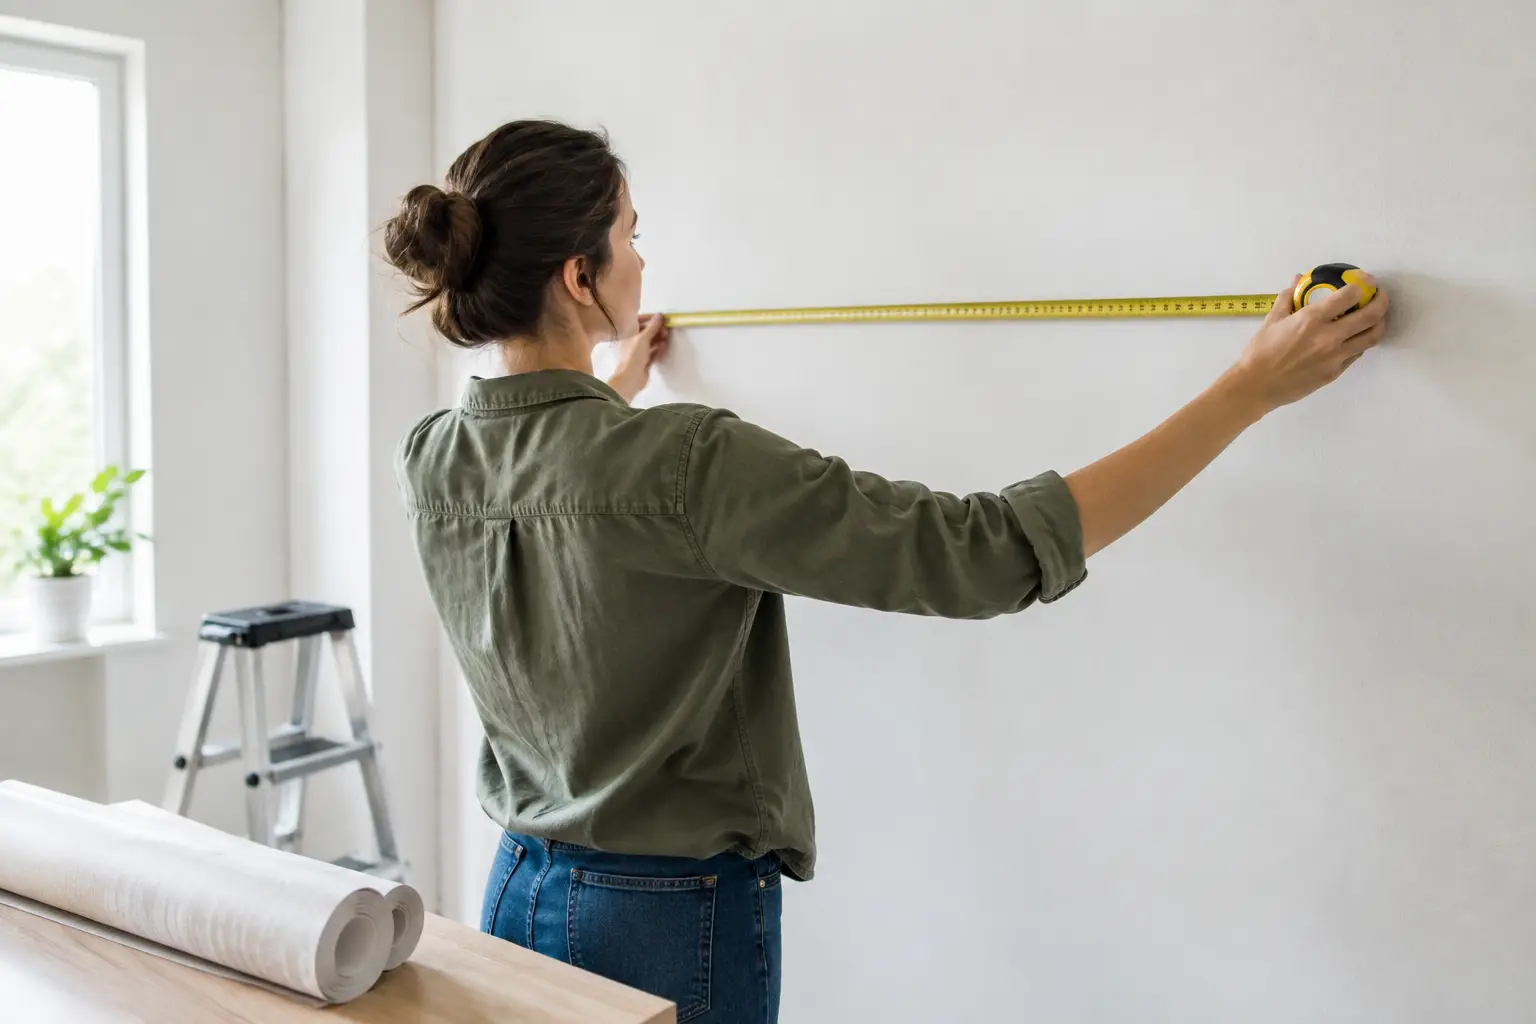
A wall mural is only as convincing as its fit. When you measure a wall for wallpaper carefully, the artwork can fill the space with intention, from edge to edge, instead of stopping short, drifting off-center, or leaving a narrow strip of painted wall where you did not expect one. The good news is that measuring is straightforward once you know which dimensions matter and which details should stay in the plan.
What You Need Before You Start
Use a metal tape measure rather than a fabric measuring tape. It stays straight across longer spans and gives you a more reliable reading. You will also want a pencil, paper or a notes app, and ideally a second person for wide walls or tall ceilings.
Measure in inches for the clearest ordering process. Record every number as you go, even if you think you will remember it. For a custom wall mural, a single missed inch can affect trimming, alignment, and how the finished design sits within the room.
Before taking measurements, decide where the mural will begin and end. Some homeowners want a full wall installation from corner to corner. Others are creating a framed feature area, placing a mural above wainscoting, or covering the section behind a bed, desk, or reception counter. Measure the finished mural area, not simply the wall you happen to be standing in front of.
How to Measure a Wall for Wallpaper
Start with the overall width. Measure horizontally from the left edge of the area to the right edge at the top, middle, and bottom of the wall. Walls are not always perfectly square, especially in older homes. Use the widest of the three measurements when placing your order.
Next, measure the height from the floor, baseboard top, or intended starting line to the ceiling or intended finishing line. Take this measurement at the left, center, and right sides of the wall. Again, use the tallest measurement. This gives you enough material to make clean cuts during installation rather than forcing the mural to fit an uneven surface.
Write the dimensions in a simple format: width first, then height. For example: 144 inches wide by 96 inches high. Add a note describing the room and wall, such as “primary bedroom, wall behind bed,” if you are measuring more than one surface.
Leave room for trimming
A mural should not be ordered to the exact visible dimensions of a wall unless the supplier specifically instructs you to do so. A modest amount of extra material allows for small variations in ceilings, corners, and floors. It also gives the installer room to position the first panel accurately before trimming the perimeter.
A common allowance is a few extra inches in both width and height, but the right amount depends on the product, panel layout, and installation method. For adhesive vinyl wall murals, confirm the recommended bleed or overlap with the manufacturer before finalizing your size. Custom production begins from the dimensions you approve, so this small check can prevent a frustrating short edge later.
Measure Around Doors, Windows, and Other Obstacles
For a full-wall mural, do not subtract doors, windows, outlets, light switches, or vents from the overall wall measurement. The material is printed as a complete composition, then carefully trimmed around each obstacle during installation. Subtracting those openings would create missing sections and interrupt the design.
Instead, measure the full width and height of the wall, then make a separate sketch showing where each feature sits. Include the width and height of a window or door, plus its distance from the nearest side wall and from the floor or ceiling. This is particularly helpful when the artwork includes a horizon line, a large face, architectural detail, or another focal point that should not land behind a window.
For outlets and switches, a quick note is usually enough. Their exact position matters most during installation, when the mural is smoothed into place and trimmed around the electrical box. Turn off power before removing cover plates, and reinstall them only after the wall covering has been cut cleanly around the opening.
When the obstacle changes the mural area
There are exceptions. If you are ordering wallpaper only for the space above a chair rail, between built-in shelves, or inside a recessed niche, measure each separate area as its own finished surface. Do not combine disconnected sections unless they will be printed and installed as one continuous mural.
A door can also change the plan when the mural is intended only for the wall section beside it. In that case, measure that section from the door casing to the corner, then from the floor or baseboard to the ceiling. Clear boundaries make the design and the installation plan much easier to manage.
Measuring Sloped Ceilings, Stair Walls, and Angled Spaces
Rooms with sloped ceilings need more than one height measurement. Measure the full wall width, then measure the tallest point from the floor to the highest part of the ceiling. A rectangular mural can cover the entire area and be trimmed to the slope during installation.
For a stairway wall, measure the widest horizontal span and the tallest vertical span, not the diagonal line of the staircase. The mural is still produced as a rectangle. A separate sketch showing the stair angle, landing, handrail, and any windows gives the production or design team useful context.
Odd shapes can be worth a quick photo as well. A photo does not replace measurements, but it helps clarify whether a soffit, beam, half wall, or sloping ceiling may affect panel placement. This is especially valuable for custom artwork, where the composition may need adjustment before printing.
Check the Wall, Not Just the Numbers
Accurate dimensions are essential, but the wall surface deserves the same attention. Adhesive vinyl performs best on a smooth, clean, dry, properly cured painted drywall surface. Fresh paint should be fully cured according to the paint manufacturer’s guidance before installation. Dust, texture, peeling paint, moisture, and residue can all affect adhesion and the finished appearance.
Look closely at the wall under natural and artificial light. Small bumps or patched areas may be more visible beneath a large mural than they are under regular paint. Repair and sand imperfections, then clean the surface before installation. If the wall has pronounced texture, wallpaper, brick, or another irregular finish, discuss the surface with a wall-covering specialist before ordering.
Also consider the baseboards and crown molding. You may choose to install to the top of the baseboard rather than behind it, or to remove trim for a more built-in result. Neither approach is automatically better. The right choice depends on the room, the condition of the trim, and how crisp you want the mural edges to look.
Plan the Artwork Before You Order
Dimensions tell you how much material is needed. They also determine how the artwork will be cropped. This matters with panoramic landscapes, world maps, city views, botanical murals, and personal photos. A wide wall may crop the top and bottom of an image, while a tall, narrow wall may crop its sides.
Think about the visual center of the wall. In a bedroom, it may be the space above the headboard. In a home office, it could be the area visible behind a desk during video calls. In a commercial lobby, it may be the view guests see when they enter. If a key detail needs to stay visible, mention it when submitting artwork or reviewing a proof.
Murale Design can review customer-supplied images for print suitability and help assess how a design will work at mural scale. A photo that looks sharp on a phone screen may not contain enough resolution for a large wall, so it is wise to have the file checked before production.
A Final Measurement Checklist
Before submitting your order, confirm that you have measured the widest width and tallest height, noted whether extra trimming allowance is required, and sketched all doors, windows, outlets, slopes, and built-ins. Double-check the units and make sure width and height have not been reversed.
Then stand back and picture the finished wall from the room’s main viewpoint. The most successful mural is not just sized to fit. It is measured, cropped, and positioned to make the room feel more personal the moment you walk in.
![Best Bathroom Mural Ideas to Elevate the Room [even for small bathroom]](/assets/documents/article/image/sans-titre.jpg)