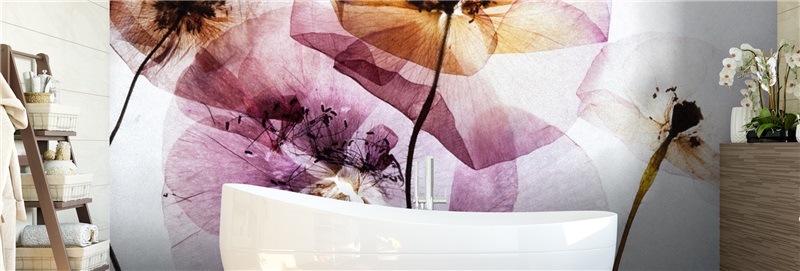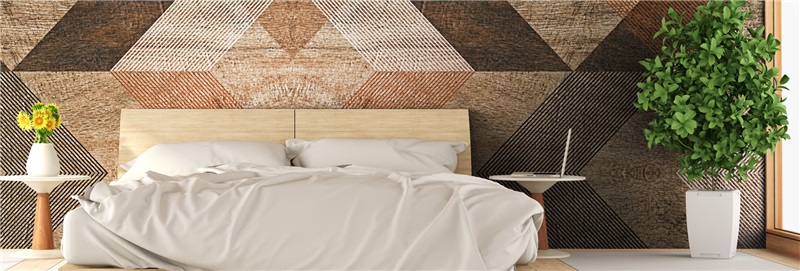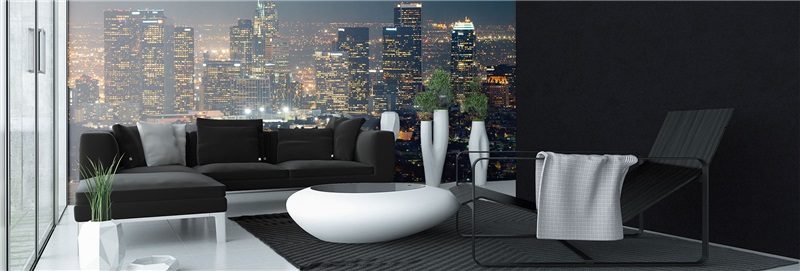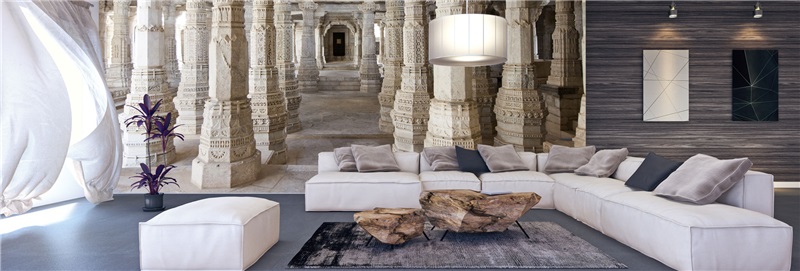
A wall mural can change the scale and feeling of a room in an afternoon, but the finished result depends on the first few inches. To apply a peel stick mural cleanly, you need a sound wall, a level starting line, and a patient panel-by-panel approach. The material is designed to make a dramatic update more manageable than traditional pasted wallpaper, yet careful preparation is still what gives it a polished, custom-installed appearance.
Whether you are creating a forest retreat in a bedroom, a playful nursery backdrop, or a refined feature wall for a client-facing office, installation is where the design becomes part of the room. Here is how to get it right.
Start With the Right Wall Surface
Peel and stick murals perform best on smooth, clean, fully cured painted drywall. A matte, eggshell, satin, or semi-gloss finish is typically suitable as long as the paint is in good condition. The key is that the surface must be stable. Flaking paint, loose drywall compound, heavy texture, dust, grease, or moisture can reduce adhesive contact.
Before installation, inspect the wall in daylight. Fill nail holes and small dents, sand repairs smooth, and wipe away sanding dust. Clean the wall with a mild, non-oily cleaner, then allow it to dry completely. Kitchen walls, hallways, and rooms with children or pets often need more thorough cleaning than expected because invisible residue can interfere with adhesion.
Fresh paint deserves extra time. Even when paint feels dry to the touch, it can continue releasing moisture and gases as it cures. Follow your paint manufacturer’s recommended cure time before applying a mural. If you are uncertain, waiting longer is safer than rushing an installation onto a newly painted wall.
Highly textured walls are the main trade-off with adhesive vinyl. Light orange-peel texture may be workable, but deep texture creates small gaps beneath the film and can show through a detailed image. For best visual clarity and adhesion, smooth the wall first or choose another installation surface.
Unpack, Inspect, and Plan the Layout
Unroll the mural panels in a clean, dry room and compare them with the installation layout before removing any backing paper. Panels are produced in sequence so the artwork aligns across the wall. Confirm the panel order, identify the top edge, and look at how the image will meet the ceiling, baseboard, windows, or adjacent walls.
Let the material rest flat for a short period if it arrived rolled. This helps it relax and makes the first panel easier to handle. Keep it away from direct heat, damp floors, and sharp tools while you work.
Most murals are printed with extra material around the outside edges to allow for trimming. That bleed is intentional. It gives you room to account for ceilings and corners that are not perfectly straight, which is true in many homes, including new construction.
Gather your tools before you begin: a measuring tape, pencil, level or laser level, clean microfiber cloth, squeegee with a soft edge, sharp utility knife with replacement blades, and a stable step stool or ladder. A second person is strongly recommended for larger panels. One person can guide the top and alignment while the other holds the released liner away from the adhesive.
How to Apply a Peel Stick Mural Panel by Panel
The first panel sets the position of every panel that follows, so do not use a corner or ceiling as your only reference point. Walls, ceilings, and trim often drift slightly out of square. Instead, measure the width of the first panel and mark a perfectly vertical plumb line where its edge will sit. A laser level is especially helpful for tall murals.
Begin at the Top, Not the Entire Backing
Place the first panel against the wall without peeling the liner to confirm its position. Leave a small amount of excess at the ceiling and side edge for final trimming. Once you are satisfied, fold back roughly 6 to 12 inches of the release liner from the top.
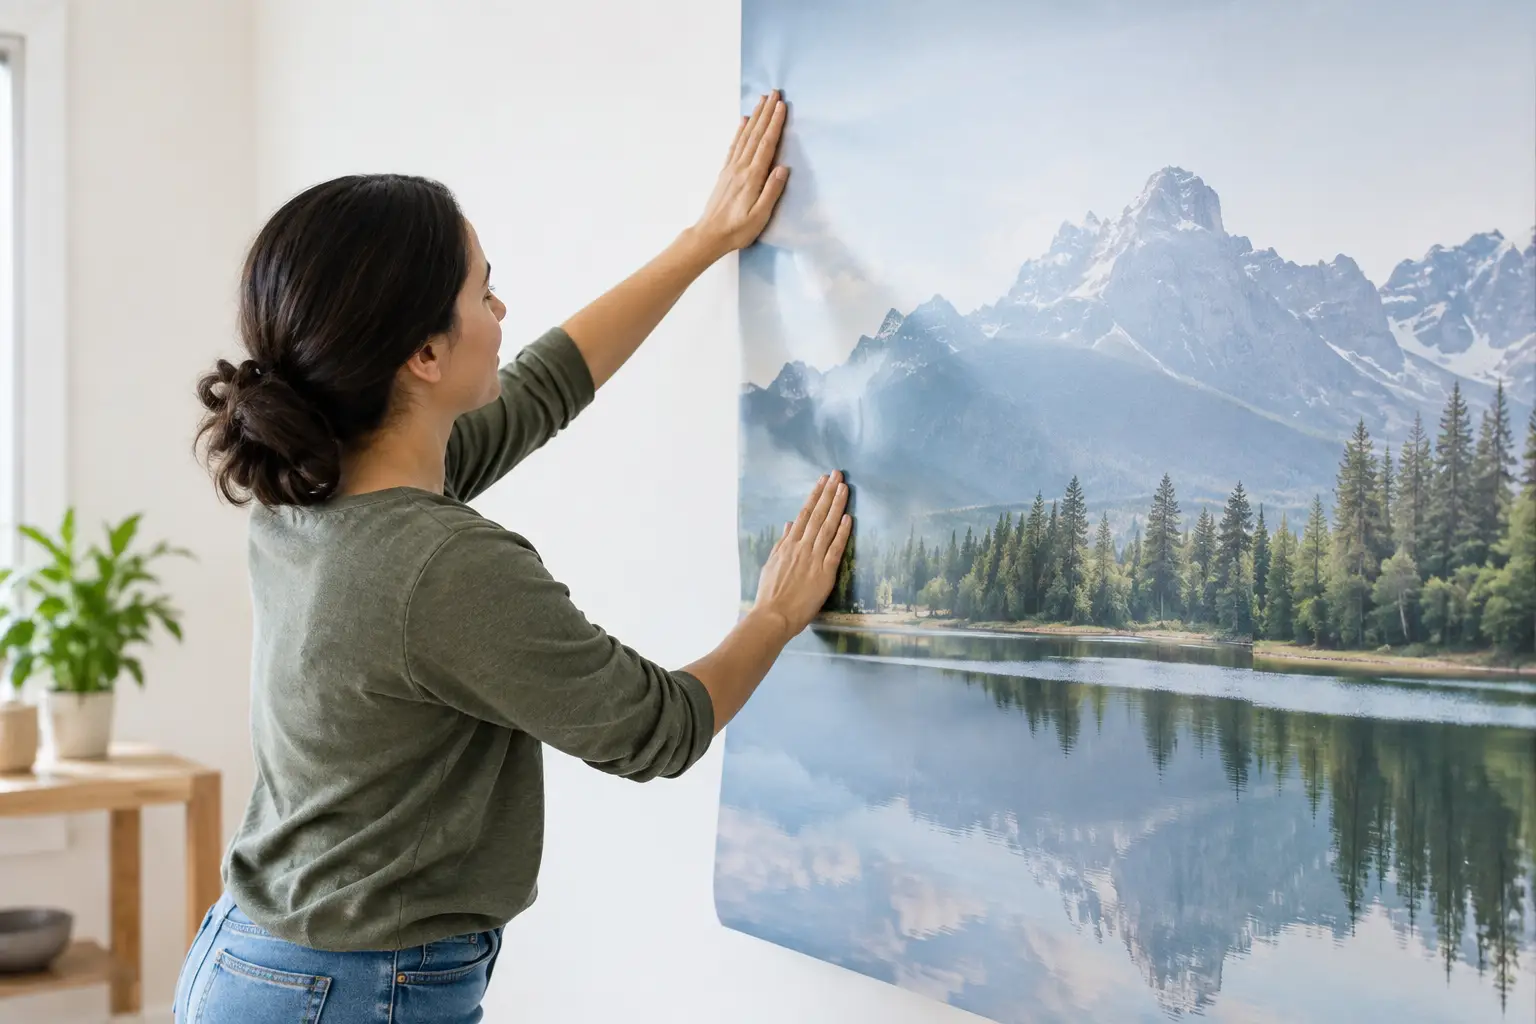
Hold the exposed adhesive edge in place along your vertical guide. Press only the top section first, working from the center outward with the squeegee. Do not remove the entire liner at once. A large exposed adhesive surface is difficult to reposition and much more likely to fold onto itself.
As the top section sits straight, pull the liner downward gradually. Smooth the mural in overlapping strokes from the center toward each outside edge. Keep gentle tension on the panel but do not stretch the vinyl. Stretching can distort the image, make panel matching harder, and encourage lifting around edges later.
Match the Artwork Before Pressing Firmly
Bring the next panel into position and align the printed design at eye level. Depending on the mural’s construction, panels may be designed to overlap slightly or meet edge to edge. Follow the supplied panel guidance rather than guessing, since the correct method protects the artwork’s continuity and avoids a visible gap.
Start with the top portion of the new panel and check the design match before smoothing farther down. Look for recognizable landmarks in the image: a branch, horizon line, geometric shape, flower stem, or building edge. These cues are more reliable than focusing only on the panel edge.
Continue down the wall one panel at a time. Step back every few feet as you work. It is far easier to correct a small alignment issue while only a section is adhered than after a full panel has been pressed into place.
Prevent Bubbles, Wrinkles, and Misalignment
Small air bubbles are common and usually manageable. First, try pushing the air toward the closest outside edge with your squeegee, using light, controlled strokes. Avoid aggressive pressure that could crease the film. If a bubble remains, gently lift the mural back to the point where the bubble began, then reapply it slowly.
Wrinkles need attention immediately. Pulling the panel diagonally or applying too much material at once is a common cause. Lift it carefully, keep the vinyl supported, and lay it back down from the center outward. Adhesive vinyl is forgiving during installation, but repeated lifting can make handling more difficult, especially with a wide panel.
A panel that starts drifting off plumb should also be corrected early. Do not assume the next panel will hide the problem. Even a slight lean can become noticeable across a full wall, particularly in designs with straight lines, maps, architecture, or repeating patterns.
Work Carefully Around Outlets, Windows, and Trim
Install the mural over outlet and switch openings rather than trying to cut around them in advance. Turn off power to the area, remove the cover plate, smooth the mural over the opening, then make a small X-shaped cut from corner to corner. Trim the excess carefully and reinstall the plate. The cover plate will conceal the cut edges for a finished look.
For windows, doors, and permanent trim, apply the mural across the opening first. Use a sharp blade and light pressure to trim against the edge. Change blades often. A dull blade can drag the film, tear the print surface, or leave an uneven cut.
At ceilings and baseboards, wait until the panel is fully smoothed before trimming. Run the blade slowly along a straight edge or the trim line, keeping it angled slightly toward the waste material. Slow, deliberate cuts produce a cleaner edge than trying to finish a long section in one fast motion.
Let the Mural Settle Into the Space
Once the final panel is in place, give the wall a last pass with the squeegee, concentrating on seams, corners, and edges. Check the mural under both natural and room lighting. If you notice a small section that has not fully bonded, press it again with a clean cloth between the squeegee and print surface.
Avoid scrubbing or washing the mural immediately after installation. Let the adhesive settle, and keep the room at a normal indoor temperature. For routine care later, a soft, lightly damp cloth is usually enough to remove ordinary dust or marks. Avoid abrasive pads and harsh chemical cleaners, which can damage the protective finish.
For a custom photo mural, take extra care before installation begins. Large-format printing makes image quality visible, so the source file, wall measurements, and crop should all be reviewed before production. Murale Design can help evaluate artwork and dimensions so the mural arrives planned for your wall rather than left to last-minute adjustments.
A peel and stick mural is most successful when you give it the same attention you would give a painted feature wall: prepare the surface, establish a true starting line, and move deliberately. That measured approach turns a roll of printed vinyl into a room-sized image that feels intentional from every angle.
![Best Bathroom Mural Ideas to Elevate the Room [even for small bathroom]](/assets/documents/article/image/sans-titre.jpg)