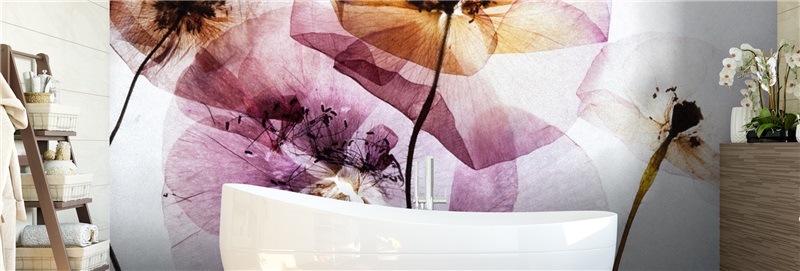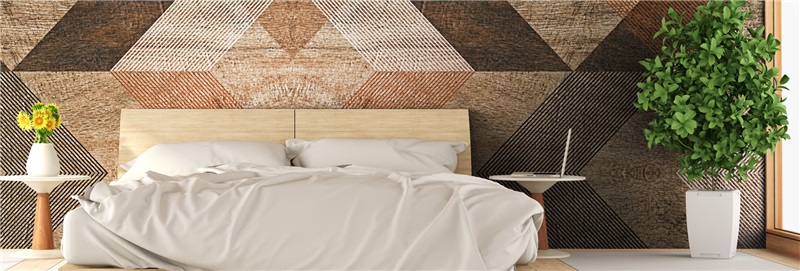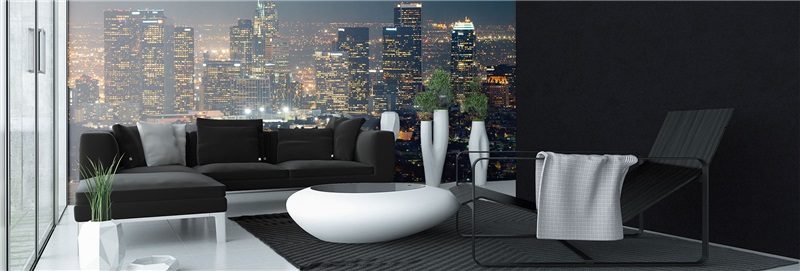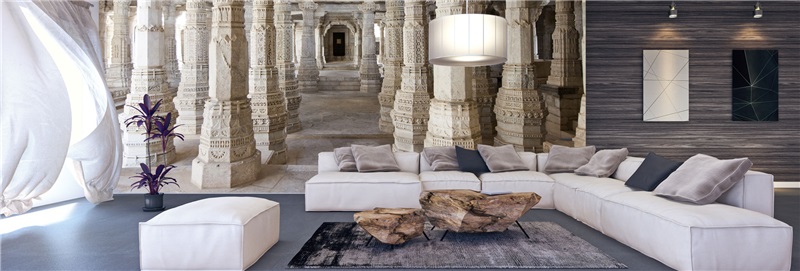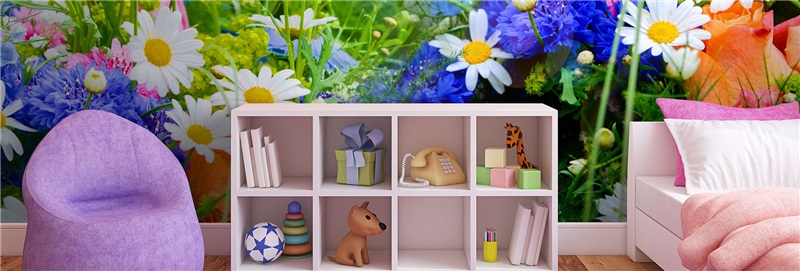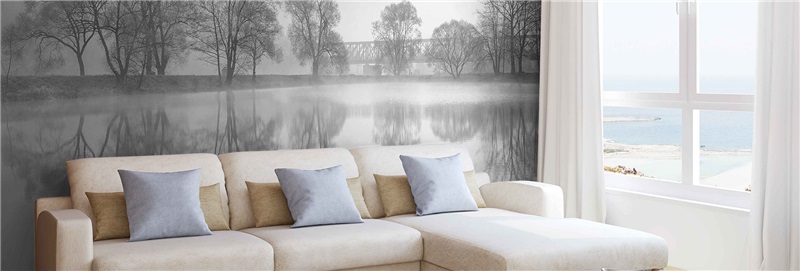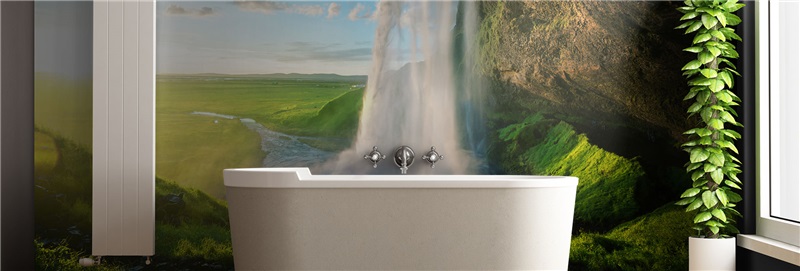
A mural can make a blank wall feel like a destination, but the effect depends on one detail: how accurately the image continues from panel to panel. When you align mural wallpaper panels carefully, a forest horizon stays level, a city skyline remains continuous, and a custom photo reads as one complete work of art rather than a series of separate strips.
The good news is that self-adhesive mural installation is manageable when the wall is prepared, the panels are identified before starting, and the first panel is perfectly plumb. The most common installation mistakes happen when people rush the first placement or try to force a seam to match before checking the panel position from top to bottom.
Prepare the Wall Before You Align Mural Wallpaper Panels
Alignment begins before the backing paper comes off. Adhesive vinyl mural wallpaper needs a clean, smooth, dry painted drywall surface so the material can adhere consistently and lie flat. Dust, cooking residue, silicone-based cleaners, loose paint, or wall texture can interfere with adhesion and make an otherwise accurate seam look uneven.
Clean the installation area with a mild, non-oily cleaner and allow it to dry fully. If the wall was freshly painted, give the paint adequate curing time according to the paint manufacturer’s directions. A wall that feels dry is not always fully cured, and newly painted surfaces can release moisture or have lower initial adhesion.
Remove outlet covers, switch plates, and lightweight wall décor before beginning. If the mural will run behind furniture, move the furniture far enough away that you can step back and inspect the image as you work. That distance matters. A seam can appear correct from a few inches away while a branch, architectural line, or horizon reveals a slight drift from across the room.
Next, unroll the mural panels on a clean floor and confirm their numbered sequence. Do not assume the panels can be installed in any order. Large-format murals are printed as a continuous image, with each panel designed to meet the next in a specific position. Check the artwork itself as well as the numbering, especially for abstract designs where the sequence may be less obvious.
Gather the Right Installation Tools
You do not need a crowded toolbox, but a few reliable tools make the work more precise: a level or laser level, a pencil, a measuring tape, a clean soft squeegee, a sharp utility knife with fresh blades, and a step stool or ladder when needed. Keep a microfiber cloth nearby to wipe away dust before it gets trapped under the vinyl.
A laser level is particularly helpful on large walls or murals with strong straight lines, such as maps, architectural images, geometric patterns, or ocean horizons. For organic artwork, a standard level and a carefully drawn vertical guide are often enough.
Start With a Plumb First Panel
The first panel controls every panel that follows. Even if your ceiling, corner, or baseboard looks straight, it may not be truly level or plumb. Using it as your guide can create a noticeable lean by the time you reach the final panel.
Measure from the starting edge indicated for your mural and draw a light vertical plumb line. Position the first panel against this line rather than directly against a corner. If the wall is slightly out of square, the small amount of excess material at the edge can be trimmed later. This approach protects the mural image from gradually shifting across the wall.
Before exposing the adhesive, dry-position the panel and compare the top and bottom edges with your guide line. Once you are satisfied, peel back only 6 to 12 inches of the backing from the top. Hold the panel in place, lightly tack the upper section, and verify it again with the level. It is much easier to correct placement at this stage than after a full panel has been pressed down.
Work from the center outward with the squeegee, using firm, overlapping strokes to remove air as you lower the panel. Pull the backing down gradually instead of removing it all at once. This gives you more control and reduces the risk of the material folding onto itself or picking up dust.
Match the Artwork, Not Just the Panel Edges
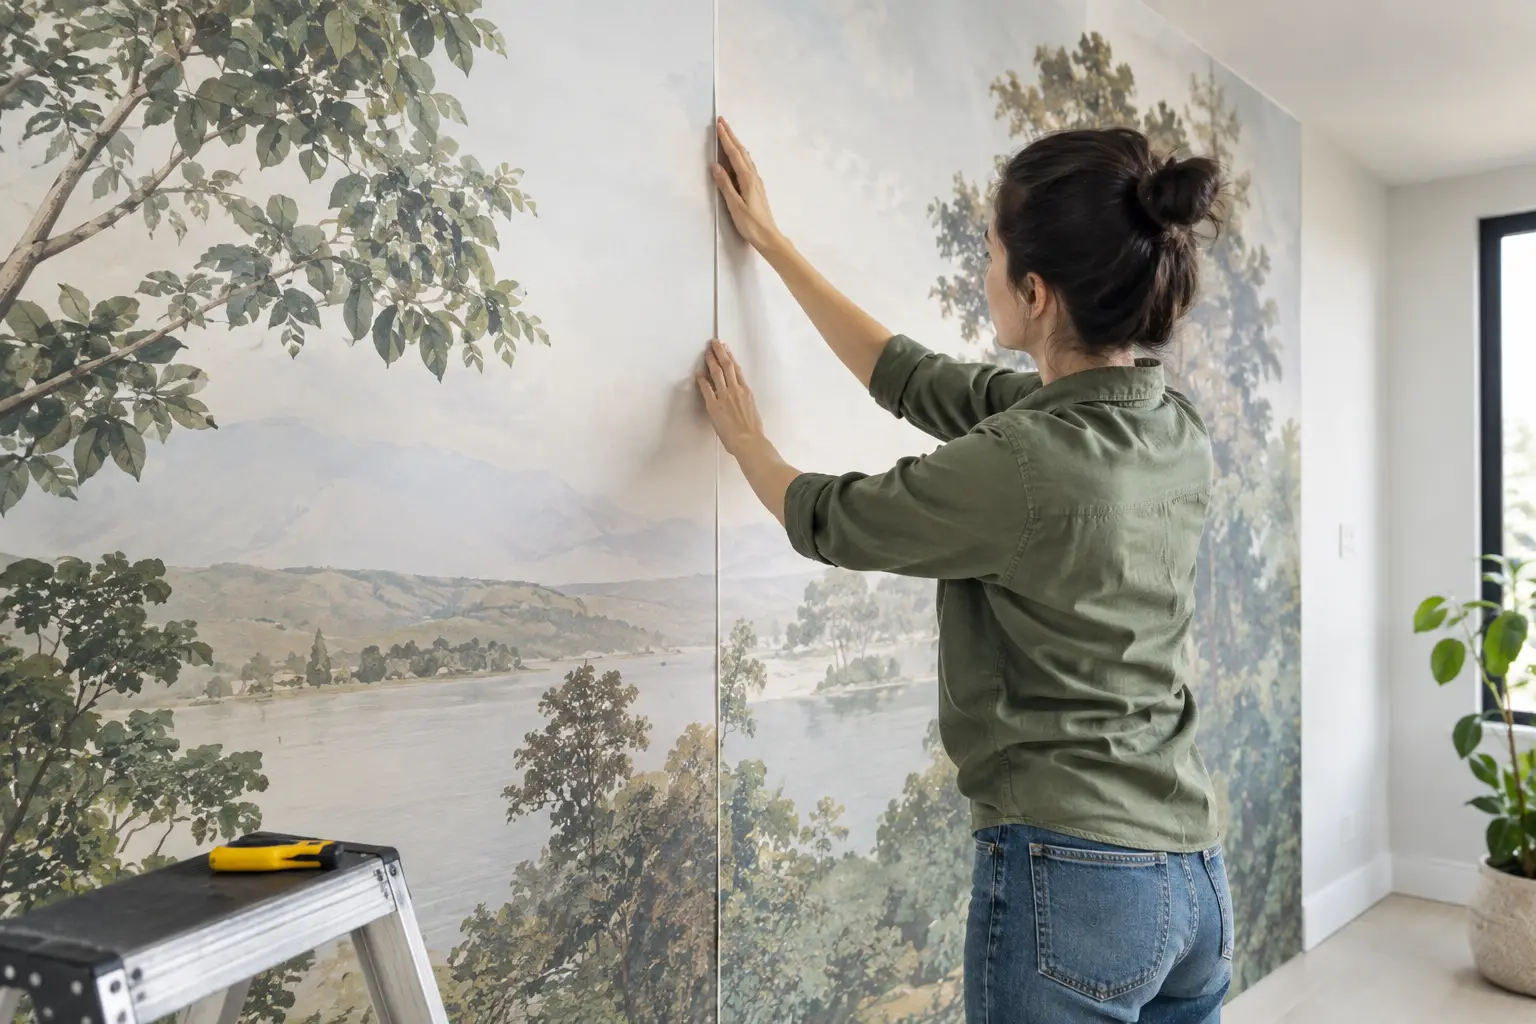
Once the first panel is secure, bring the next panel into place without fully applying it. Focus on the printed artwork where the panels meet. A leaf vein, window edge, contour line, or color transition is a more reliable alignment reference than the outer edge of the material alone.
Depending on the mural’s construction, panels may meet edge to edge or use a small overlap. Follow the specifications provided with your order. An edge-to-edge seam should meet cleanly without stretching either panel. An overlap should be consistent from the top to the bottom. Trying to eliminate an intended overlap can create a narrow gap that exposes the wall beneath.
Begin matching at the top, then check the middle and bottom before committing to the seam. If the image lines up at the top but drifts in the center, do not press forward and hope it improves. Lift and reposition the unadhered section while you still can. Vinyl should be handled gently: pulling hard to force a match can stretch the material and distort the artwork.
For panels with repeated patterns, use a recognizable feature as your checkpoint every few feet. With a botanical mural, that may be a flower stem or a leaf cluster. With a world map, it may be a coastline or grid line. This keeps small errors from becoming cumulative errors.
Keep Seams Clean and Relaxed
A visible seam is not always an installation failure. Most murals have seams because room-scale artwork must be produced in practical panel widths. The goal is a clean, consistent join that lets the design carry the visual attention.
Avoid pushing the panels together so aggressively that the vinyl buckles. Likewise, do not leave a gap because you are concerned about overlap. The correct seam should look relaxed and intentional, with the artwork aligned and the material sitting flat against the wall.
If a small bubble appears away from the seam, work it toward the nearest edge with a soft squeegee. For a stubborn pin-sized bubble, a very small puncture can release trapped air, but this should be a last resort. Preventing bubbles through slow, center-out application produces the best finish.
Work Around Outlets, Windows, and Obstacles Carefully
Obstacles require patience because they interrupt the continuous image. Apply the panel over an outlet opening or switch box first, then make a small X-shaped cut over the opening with a fresh blade. Trim gradually, keeping the cut inside the area that the cover plate will conceal. Reinstall the cover only after the mural has been smoothed and trimmed.
At windows, doors, and wall edges, leave a little extra material until the panel is fully aligned and adhered. Trim only after confirming that the adjacent seam is correct. Cutting too early removes your margin for adjustment and can make a minor wall irregularity much more obvious.
Ceilings and baseboards often vary slightly, especially in older homes. A mural may need a careful final trim even when it was measured correctly. Use a sharp blade and replace it often. A dull blade can drag the vinyl, tear the finish, or create a ragged edge that catches the eye in natural light.
Know When the Wall, Not the Mural, Is the Challenge
Not every alignment issue comes from the panels. Textured walls, peeling paint, uneven drywall joints, and pronounced wall bows can affect how a mural sits. In these situations, surface preparation may matter more than installation technique. A smooth painted wall gives adhesive vinyl the most reliable foundation.
Large commercial walls and projects with multiple corners, high ceilings, or detailed architectural interruptions may also benefit from professional installation. This is especially true when the mural includes a custom image where every detail needs to register precisely. For custom projects, Murale Design can review image quality and help ensure the artwork is suitable for the final wall dimensions before production begins.
After installation, step back in several lighting conditions. Daylight can reveal a different seam detail than evening lamps. If the image is aligned, the panel edges are flat, and the mural feels continuous from the normal viewing distance, you have achieved the result that matters: a wall-sized image that looks designed for the room, not assembled inside it.
![Best Bathroom Mural Ideas to Elevate the Room [even for small bathroom]](/assets/documents/article/image/sans-titre.jpg)