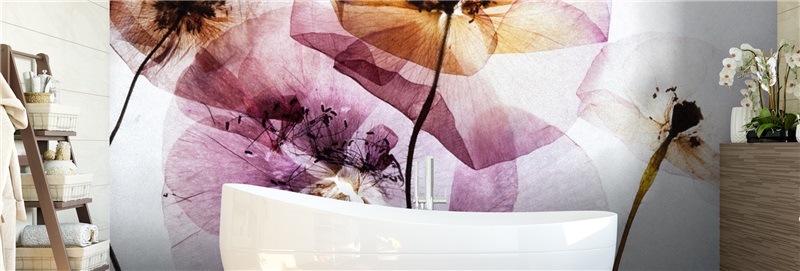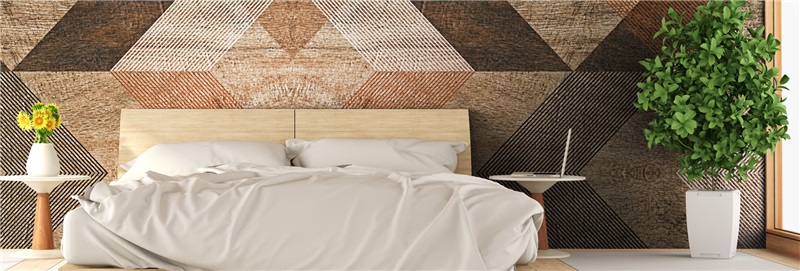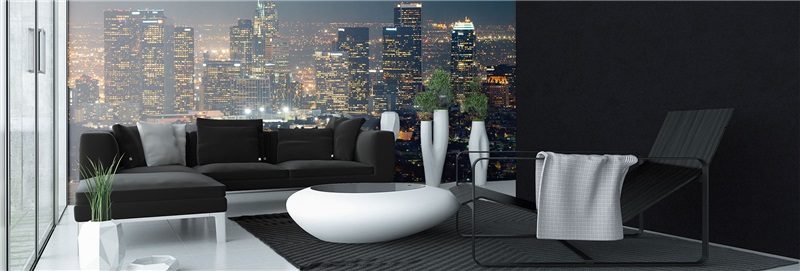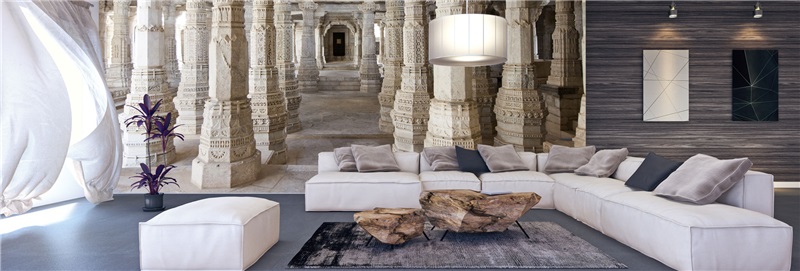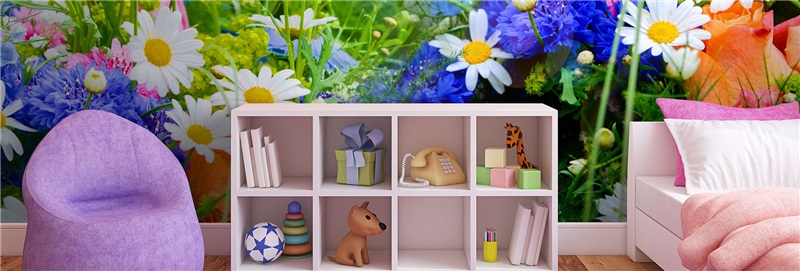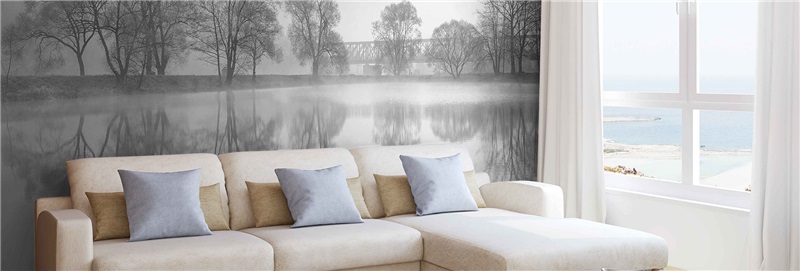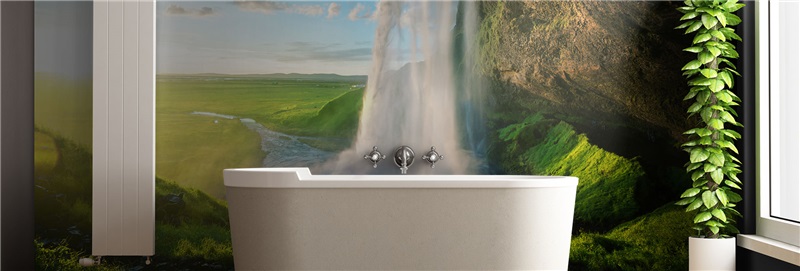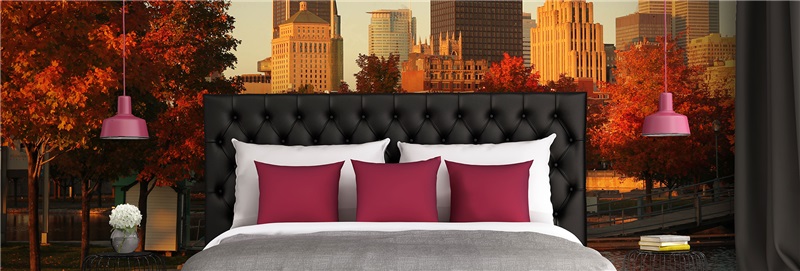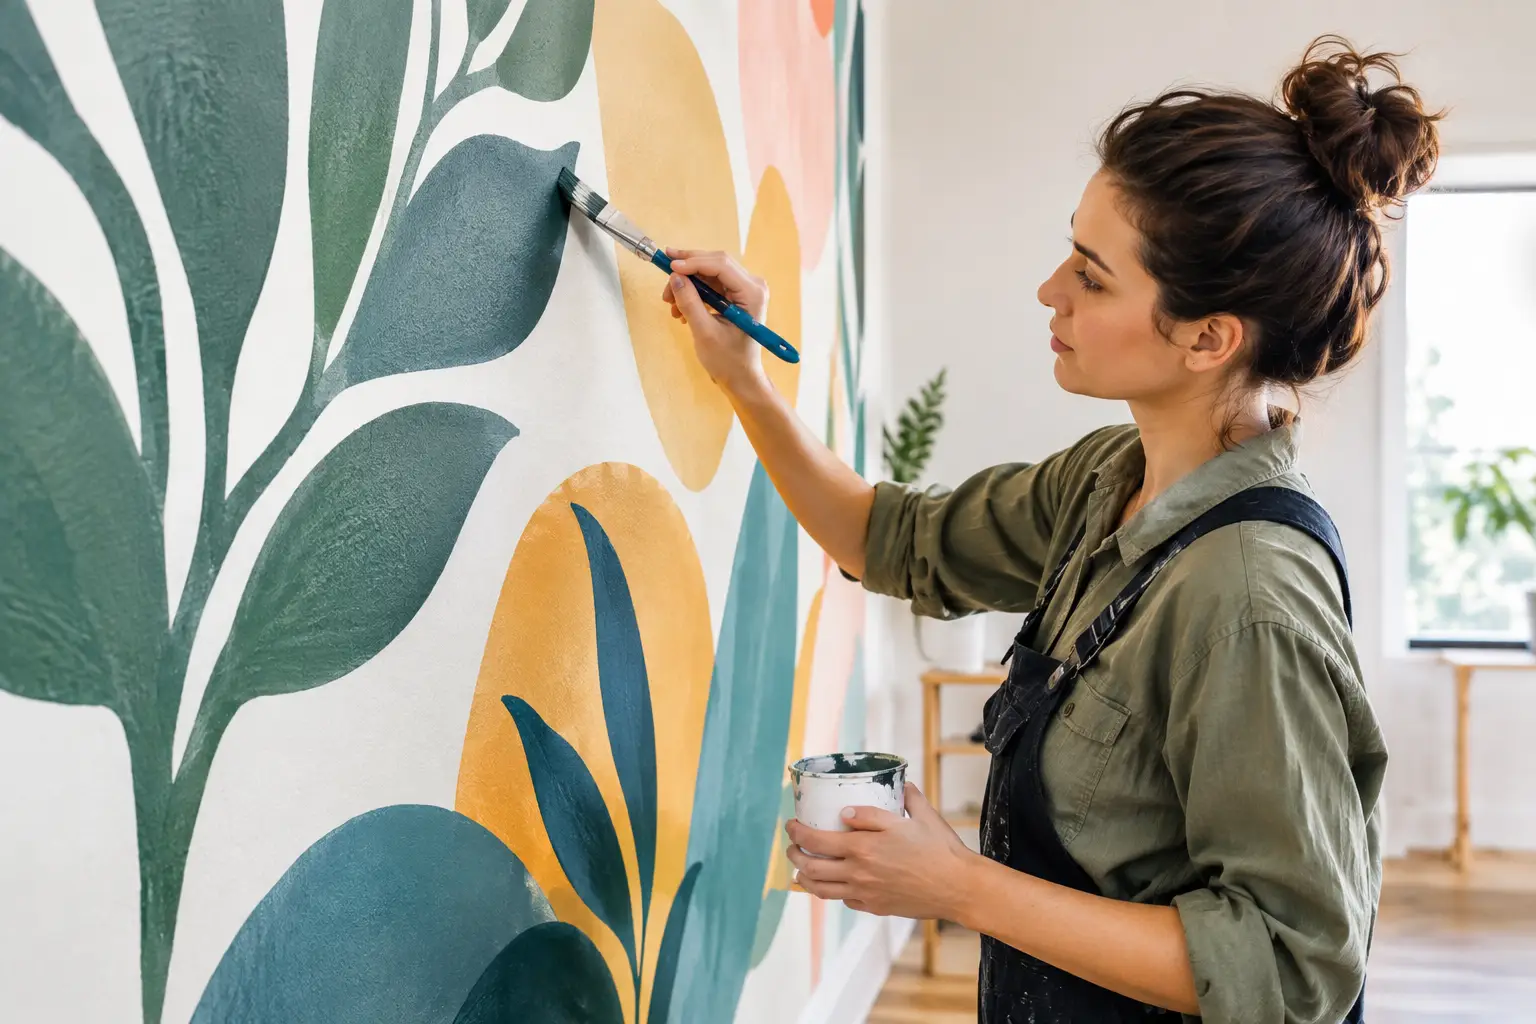
A mural should transform a wall, not become a repair project. So, do murals damage drywall? When the wall is sound, clean, fully cured, and painted with a quality finish, a properly installed adhesive wall mural is unlikely to damage the drywall itself. The bigger variables are paint condition, wall preparation, adhesive quality, and how patiently the mural is removed.
That distinction matters for homeowners creating a feature wall and renters planning a change they may eventually need to reverse. Drywall is protected by its paint layer. Most removal issues happen when the mural pulls up weak, poorly bonded, or recently applied paint - not because the mural has harmed the gypsum board underneath.
Do Murals Damage Drywall or Just the Paint?
Drywall is a paper-faced gypsum panel, and the paper surface is vulnerable if it becomes exposed. A mural adhered to a well-painted wall does not normally come into direct contact with that paper. Instead, it bonds to the painted surface.
If paint peels away during removal, it can look like the mural damaged the wall. In reality, the adhesive may have revealed an existing problem: aging paint, skipped primer, moisture damage, patched areas that were not sealed, or paint applied over a dusty surface. This can happen with many adhesive products, including hooks, decals, tape, and wallpaper.
A mural is also not the right solution for every wall. Fresh drywall mud, flaky paint, textured plaster, or a wall with active dampness needs attention before any wall covering goes up. Covering those issues may create a beautiful short-term result, but it will not make the surface more stable.
What Makes a Wall Mural Safe for Painted Drywall?
The material matters. Wallpaper-style adhesive vinyl designed for indoor painted walls is made to hold securely while remaining removable with a careful technique. At Murale Design, custom murals are printed on adhesive vinyl film with durable latex inks and an anti-scratch finish, giving the surface visual depth and everyday durability without requiring paste or heavy wet application.
Still, the wall does part of the work. A mural performs best when it is applied to a smooth, dry, properly painted surface. Satin, eggshell, and quality matte painted walls are common choices, provided the paint is in good condition. Very flat, chalky paint can be more vulnerable to lifting, while highly textured surfaces can reduce contact between the adhesive and the wall.
The age of the paint is equally relevant. Newly painted walls need time to cure fully, even if they feel dry to the touch. A good rule is to wait at least two to four weeks, following the paint manufacturer's cure guidance. Installing over uncured paint can interfere with adhesion and raise the chance of paint disturbance later.
Walls that need extra care
Not every visible wall is mural-ready. Be more cautious with older homes, rental units with unknown paint history, and walls that have been patched or repeatedly repainted. A small test application in an inconspicuous area can offer useful information, especially before covering a large feature wall.
Use extra caution when you see cracking, bubbling, peeling, soft spots, stains, or powdery residue. These signs point to a surface issue that should be repaired before installation. For a wall with moisture staining, first identify and resolve the moisture source. Adhesive wall décor cannot compensate for an unstable substrate.
Prepare the Wall Before You Install
Preparation is what turns a mural installation from uncertain to predictable. Start by inspecting the wall in daylight. Run your hand across the surface to find raised paint edges, sanding dust, dents, or rough patches that could show through the mural.
Clean the wall with a soft cloth and a mild, non-oily cleaner, then allow it to dry completely. Avoid cleaners that leave a glossy residue, because residue can weaken the bond. If there are small nail holes or dents, fill, sand, prime, and repaint them before installation. Let every repair cure fully.
A smooth finish is especially useful with large-format imagery. A forest scene, beach horizon, cityscape, or personal photo has broad areas of color and detail that can make surface imperfections easier to notice. Good wall preparation protects both the finish and the visual impact of the design.
Before applying the mural, confirm the dimensions and panel order. Lay panels out in sequence and check the artwork against the wall. This reduces the need to lift and reposition a large section repeatedly, which is kinder to both the adhesive and the paint finish.
The Installation Choices That Reduce Risk
Apply the mural gradually rather than exposing all of the adhesive at once. Begin at the top, keep the first panel plumb, and smooth downward with controlled pressure. Pulling the backing away a little at a time makes it easier to correct alignment without stretching the material or trapping air.
Avoid excessive pressure at panel edges and corners. The goal is full contact, not force. If a panel needs adjustment, lift it slowly and close to the wall rather than pulling it sharply outward. Large murals reward a measured pace, and a second person is helpful for wide panels or tall walls.
Room conditions also affect installation. Work in a clean, dry interior space at a normal room temperature. Avoid applying a mural immediately after a steamy shower, while windows are open during very humid weather, or on a wall that feels cold and damp. Stable conditions help the adhesive settle evenly.
How to Remove a Mural Without Pulling Paint
Removal is where most concerns about drywall arise. The safest approach is slow, low, and controlled. Start at a top corner and peel the mural back over itself at a shallow angle, rather than pulling it straight out from the wall. Keep your hands close to the peeling edge as you work downward.
If the mural resists, do not yank it. Warm the area gently with a hair dryer on a low setting, moving continuously to avoid overheating one spot. Mild warmth can soften the adhesive and make removal easier. Then continue peeling slowly, section by section.
A mural that has been on a wall for years may require more patience than one installed for a short-term room refresh. Paint condition remains the deciding factor. If you notice paint beginning to lift, pause and change your angle or add gentle warmth. In some cases, a small touch-up is unavoidable, particularly on older walls or surfaces with weak paint adhesion.
After removal, any light adhesive residue can usually be addressed with a wall-safe cleaner and a soft cloth. Test any cleaner in a hidden area first, and avoid aggressive scraping. If the wall needs paint touch-up, feather the repair carefully to blend it into the surrounding finish.
What Renters Should Know Before Installing a Mural
Renters should read their lease and ask the property manager about decorative wall coverings before ordering. Even a removable mural may be treated differently from temporary décor under a building's rules. Getting written approval is the safest route for a large installation.
It is also smart to document the wall before installation. Take clear photos of existing marks, nail holes, cracks, and paint wear. This protects both you and the property owner by establishing the wall's condition before the mural is applied.
For a rental, choose a wall that is smooth, dry, and in strong paint condition. Avoid recently painted walls unless the paint has cured, and skip areas with known water issues or peeling corners. If a full wall feels like too much commitment, a smaller mural placement can still create a strong focal point behind a bed, desk, or seating area.
A Better Question Than “Will It Damage the Wall?”
The more useful question is whether your wall is ready for a mural. A quality, custom-sized wall covering installed on a stable painted surface can be a practical way to bring oversized artwork, a favorite photograph, or a defining pattern into a room. It can also be removed with far less disruption than many people expect when care is taken at every stage.
Give the wall the same attention you give the artwork. Prepare it well, let paint cure, install with a steady hand, and remove slowly when the time comes. That is how a mural remains what it should be: a memorable design decision, not a drywall repair story.
![Best Bathroom Mural Ideas to Elevate the Room [even for small bathroom]](/assets/documents/article/image/sans-titre.jpg)