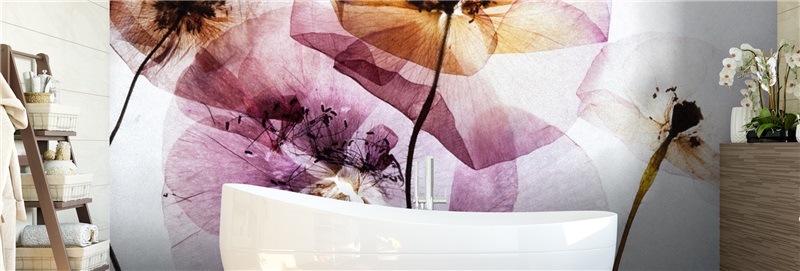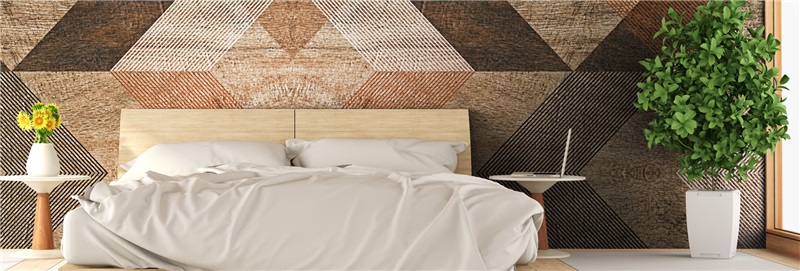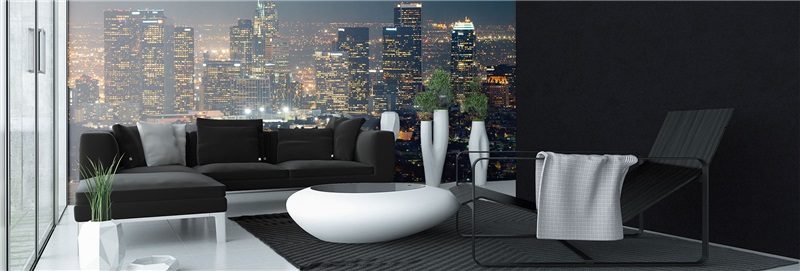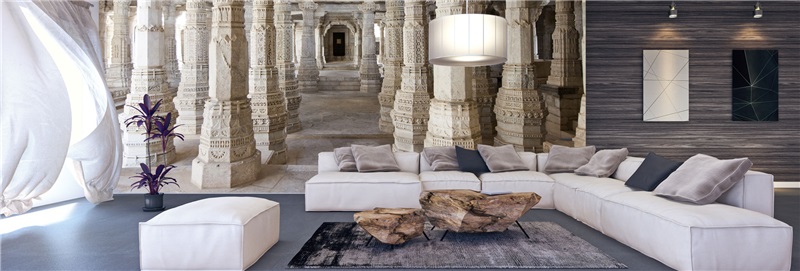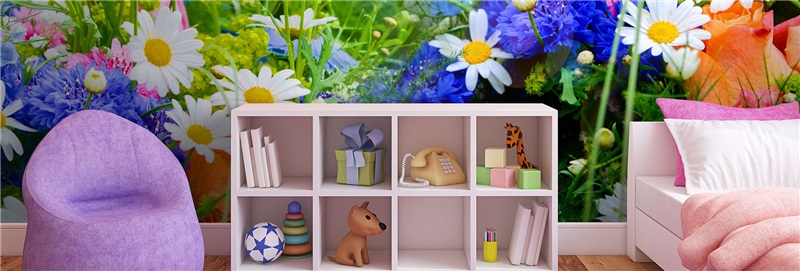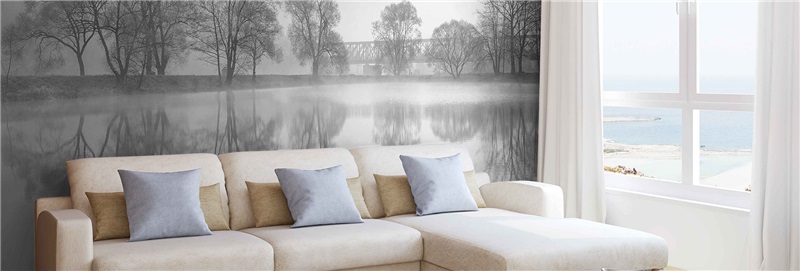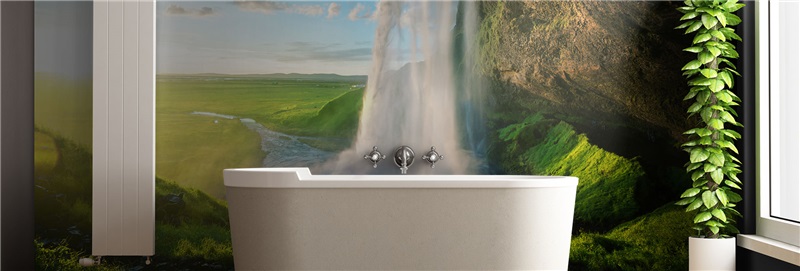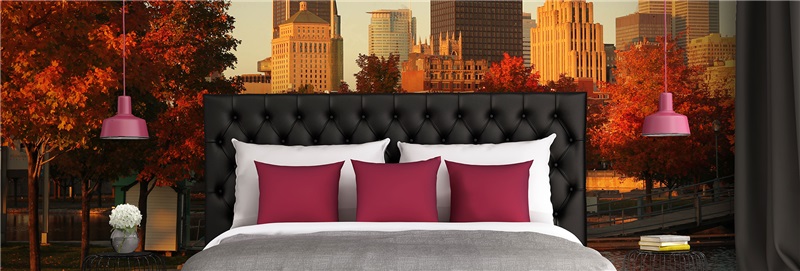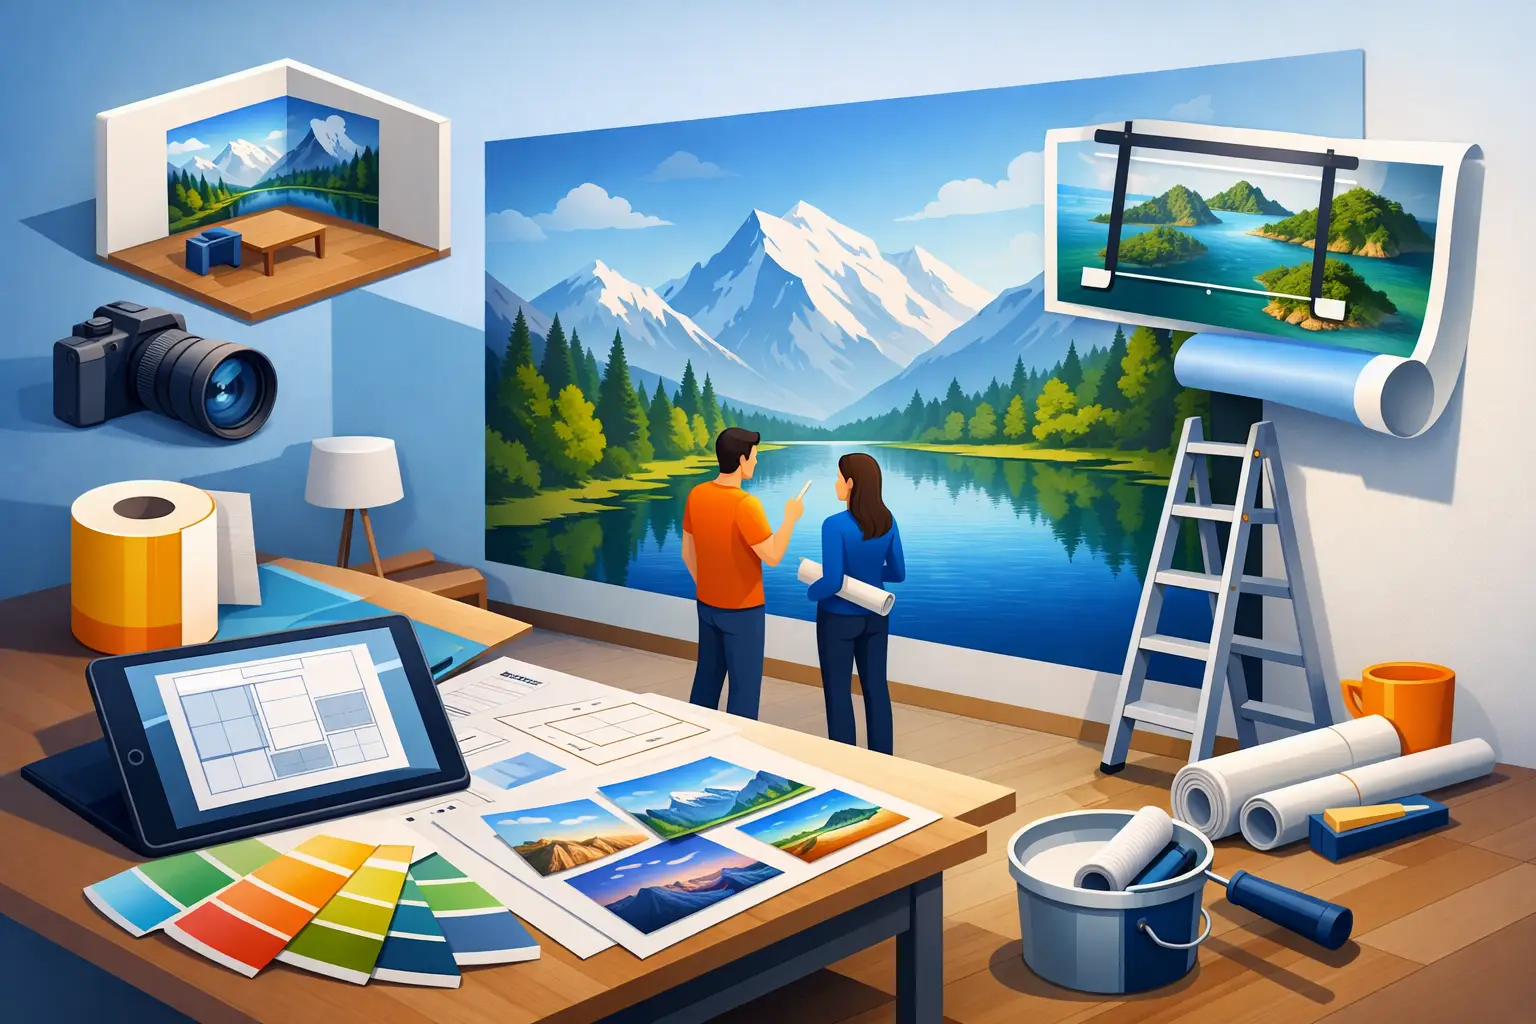
A favorite travel photo can look completely different when it fills the wall behind a bed, sofa, reception desk, or desk chair. A custom photo wall mural turns a meaningful image into part of the architecture of a room, not simply another piece of décor. The result can be striking, but large-format printing asks more of an image and a wall than a framed 8-by-10 ever will.
The best projects begin with a little planning. Choosing the right image, measuring carefully, and preparing the surface all protect the finished look you have in mind. Here is how to move from a photo you love to a wall covering that feels intentional, clear, and made for the space.
Start With the Wall, Not the Photo
It is tempting to begin with the most sentimental or dramatic image in your camera roll. First, consider what the wall needs to do. A close-up family portrait may be perfect for a private bedroom, while a wide beach scene can make a compact living room feel more open. For a lobby, studio, or office, a cityscape, landscape, team image, or branded visual may create a stronger sense of place.
Look at the wall as it is actually used. Furniture, door swings, windows, light switches, vents, and shelving affect which part of an image will remain visible. The focal point of a photo should not land behind a tall headboard or disappear at the edge of a bookcase.
Lighting matters, too. A bright wall with strong daylight can support a detailed forest, coastline, or street scene. A darker room may benefit from an image with clear contrast and a recognizable subject. If the room already has patterned rugs, layered textiles, or colorful furniture, a quieter photo can keep the mural from competing with everything around it.
A mural does not have to show a literal place. An enlarged photo of foliage, weathered wood, water reflections, a pet, a child’s drawing, or a close-up architectural detail can become an expressive custom surface. The key is scale. Details that feel subtle on a phone screen often become the visual story of the room once they cover an entire wall.
Custom Photo Wall Mural Image Quality Comes First
A beautiful image is not always a printable image at mural size. Phone cameras can produce excellent files, especially in good light, but a screenshot, social-media download, or image sent through a messaging app may be too compressed for sharp large-format output.
Whenever possible, start with the original image file. Transfer it directly from the camera or phone rather than saving it from an online post. If a professional photographer took the image, request the highest-resolution file available and confirm that you have permission to reproduce it as wall décor.
Resolution requirements depend on the final mural dimensions, how closely people will view it, and the content of the image. A soft, misty mountain photo can tolerate a little less fine detail than a sharply focused group portrait or a skyline with small windows. This is why image review is valuable before printing. A design team can assess whether the file is suitable, recommend a different crop, or help identify a stronger image before production begins.
Avoid trying to improve a small file by simply enlarging it on your computer. Enlarging can make a file bigger in inches, but it cannot recreate missing detail. It may introduce blur, blocky areas, or artificial-looking texture. A professional enhancement may help in some cases, yet it cannot turn every low-resolution snapshot into a crisp wall-size print.
Choose a Crop That Works at Room Scale
Most photos and most walls have different proportions. A horizontal landscape image may need cropping for a tall, narrow wall, while a portrait-oriented image may need extra visual space on either side for a wide feature wall. This is normal, but it should be handled deliberately.
Leave breathing room around important faces, buildings, or horizon lines. If the image will be trimmed slightly during installation, avoid placing a critical detail at the outer edge. For photos with people, it is usually best not to crop tightly through faces, hands, or other recognizable features. A crop that looks balanced on a screen is more likely to look balanced once it is measured against a full wall.
Measure the Finished Area Carefully
Measure the wall width and height in several places, not only once in the center. Many walls are not perfectly square, particularly in older homes. Note baseboards, crown molding, outlets, wall-mounted lighting, and any permanent features that affect the installation area.
For a full-wall installation, it is generally wise to provide measurements that account for a small amount of extra material. This gives the installer room to align panels and trim cleanly at the edges. Exact ordering guidance can vary by project, so it helps to share a photo of the wall and explain whether the mural will run floor to ceiling, stop above a baseboard, or sit within a defined architectural area.
Think about viewing distance as well. A mural in a narrow hallway is seen up close, making image clarity especially noticeable. A large mural behind a sofa may be viewed from farther away, allowing a broad landscape or more atmospheric image to work beautifully. Bigger is not automatically better. A mural should fit the room’s sightlines and proportions, not overwhelm them.
Choose Materials With Daily Use in Mind
For painted drywall interiors, adhesive vinyl mural film offers a clean wallpaper-style look without the visual interruption of framed pieces. Professionally printed latex inks can deliver rich color while supporting an interior-friendly installation approach, and an anti-scratch finish helps the surface stand up to normal daily contact.
Material choice should match the room. A child’s bedroom, busy hallway, waiting room, or commercial space may benefit from a surface designed for regular activity. A low-traffic guest room may allow you to focus almost entirely on the image and mood. In either case, a mural is a made-to-order printed product, so selecting the right dimensions and artwork before production is far easier than trying to revise the plan afterward.
Wall condition affects adhesion and appearance. The surface should be clean, smooth, dry, and fully cured if it has been recently painted. Fresh paint can release moisture or gases as it cures, which may interfere with installation. Textured walls, loose paint, damaged drywall, dust, and residue can all show through or reduce how well the film bonds.
Prepare for a Clean Installation
Large murals are commonly produced in manageable vertical panels rather than one oversized sheet. Panel construction makes the material easier to handle while allowing the image to align across the wall. Before installation, identify the starting edge, clear the work area, and make sure you have enough room to lay out panels in order.
Take time with the first panel. Its alignment influences every panel that follows. Work gradually, smoothing the film as you go to help avoid trapped air and maintain a consistent bond. Around outlets, trims, and corners, careful trimming produces a more finished result than rushing the cut.
If the wall is unusually tall, heavily detailed, or part of a client-facing commercial project, professional installation can be a practical choice. It is also worth considering when a mural must align with built-ins, signage, or existing design elements. Murale Design can provide project guidance, image evaluation, and installation support so the technical details receive the same attention as the visual concept.
Give Personal Images a Purposeful Place
The most successful photo murals often connect to how people feel in a room. A quiet lake view behind a bed can support a restful retreat. A panoramic family travel image in a dining area can create an easy conversation starter. In a home office, a photograph of a favorite city, landscape, or abstract natural texture can add personality without making the space feel distracting.
For designers and commercial buyers, custom imagery can also reinforce a project’s identity. A hospitality space might feature a local landmark. A wellness office may use calming natural photography. A retail environment can turn campaign visuals or product photography into a room-scale backdrop, provided the source image has sufficient quality and reproduction rights.
The right custom photo wall mural should feel like it belongs there from the first day. Choose the image that still has something to say when you see it every morning, give it the dimensions and surface it deserves, and let the wall become a lasting part of the memory.
![Best Bathroom Mural Ideas to Elevate the Room [even for small bathroom]](/assets/documents/article/image/sans-titre.jpg)