
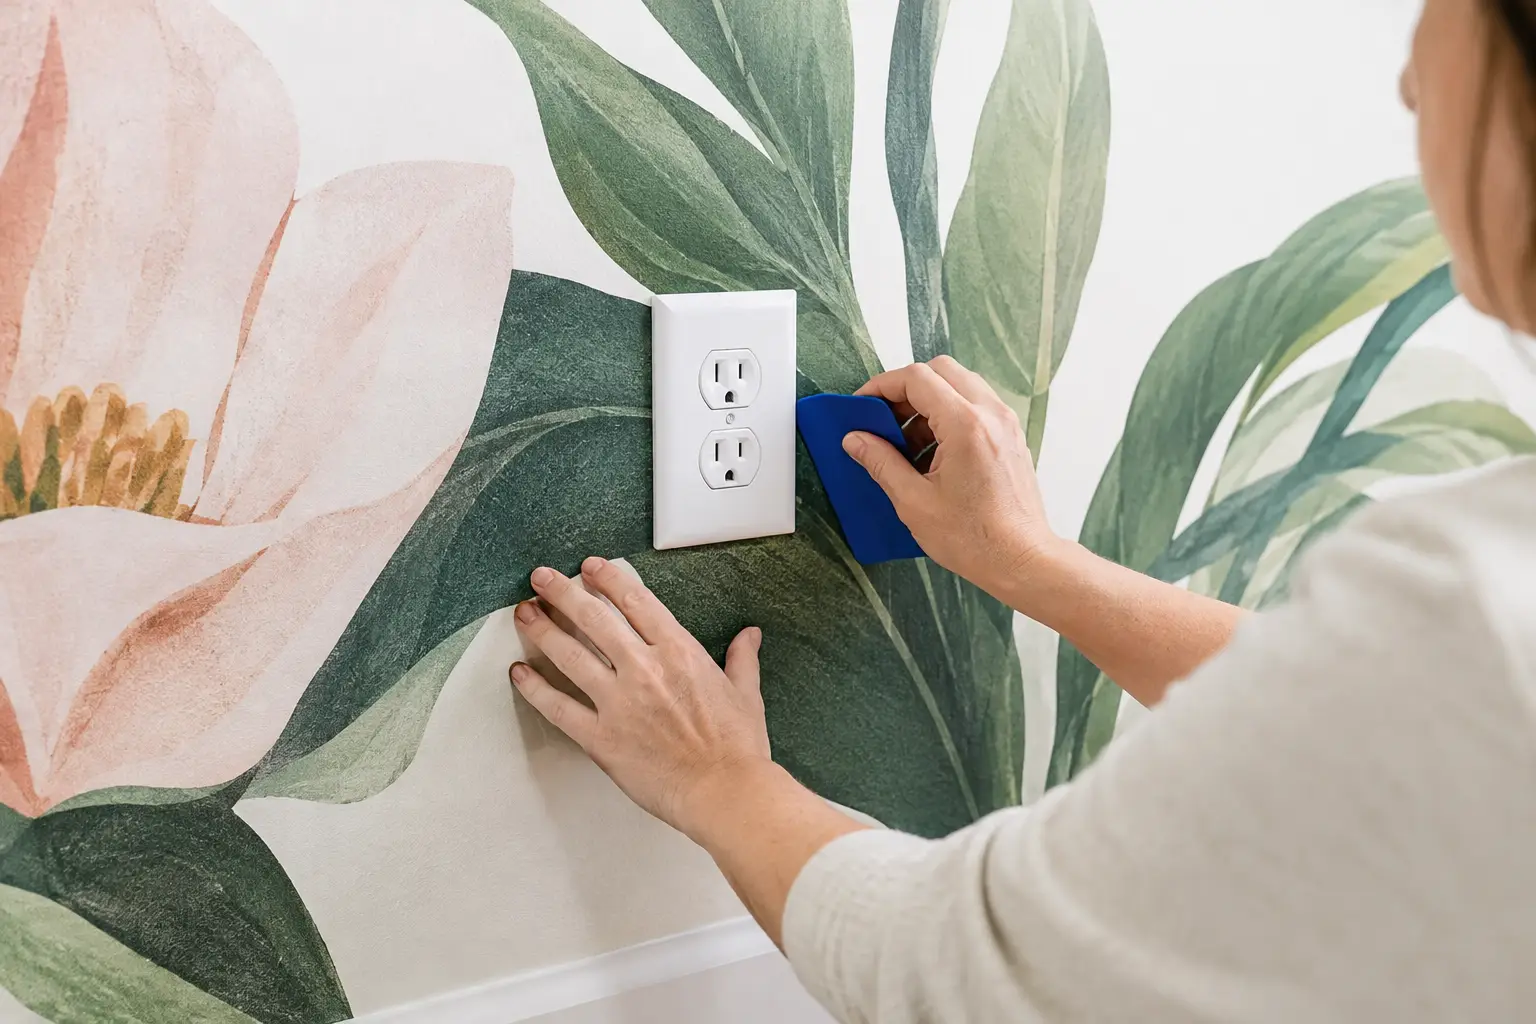
A wall outlet can feel like an awkward interruption in a sweeping forest scene, oversized floral, or custom family photograph. It does not have to be. When you apply a mural around outlets, the goal is not to make the outlet disappear completely, but to create a tight, clean cut that lets the cover plate sit naturally against the finished wall.
With adhesive vinyl mural panels, the most reliable method is to install the material over the outlet opening, then trim it in place. That approach gives you a more accurate result than trying to cut the opening before the panel reaches the wall. A little patience here protects both the mural design and the finished edge.
Prepare the wall and outlet first
Start with a wall that is clean, dry, smooth, and fully cured if it was recently painted. Dust, residue, loose paint, and wall texture can all affect how evenly an adhesive mural sits around an outlet. Wipe the area with a clean, lint-free cloth and allow it to dry completely.
Before beginning installation, turn off power to the outlet at the breaker if you will be working closely around the electrical box. Remove the outlet cover plate with a screwdriver and set the screws and plate aside somewhere safe. You do not usually need to remove the receptacle itself. Keeping the outlet in place creates a clear, solid reference for trimming while avoiding unnecessary electrical work.
Look closely at the outlet location in relation to the mural panels. If the opening lands near a panel edge, it is especially important to keep the panel aligned and level before making any cuts. A mural pattern can hide minor variations in a forest or abstract print, but straight architectural lines, maps, and custom photographs make alignment more noticeable.
Plan the panel before you apply mural around outlets
Unroll the panel and identify its top, bottom, and overlap edge before peeling away the liner. Made-to-order mural panels are designed to work together as one image, so verify the sequence first. Dry-positioning the panel helps you see where the outlet will fall within the artwork and confirms that the design is oriented correctly.
Apply the upper section of the panel first, keeping it level. Remove the backing gradually rather than all at once, and smooth the adhesive vinyl onto the wall with a felt-edge squeegee or a soft, clean applicator. Work from the center outward to push air toward the edges.
As you approach the outlet, do not force the mural flat over it. Let the material bridge lightly over the opening while you maintain the panel's overall alignment. If you pull too hard or press the vinyl into the outlet cavity before it is trimmed, you may stretch the material or create tension around the finished opening.
Why cutting in place works better
Pre-cutting an outlet opening may sound faster, but it leaves very little room for error. Even careful measurements can be off because electrical boxes are not always perfectly centered, cover plates can be larger than expected, and a panel can shift slightly during installation.
Cutting in place allows the wall and outlet to guide your trim line. It also preserves the mural's visual continuity. This matters with custom images, where moving a panel just a fraction of an inch can affect the placement of a face, horizon line, or important feature in the image.
Make a clean outlet cutout
Once the panel is smooth and correctly positioned around the outlet, use a sharp utility knife with a fresh blade. A dull blade can drag the vinyl, tear the printed surface, or leave a rough edge. Keep replacement blades nearby, especially on larger projects with several switches and outlets.
Begin by making a small X-shaped cut in the center of the outlet opening. Keep the cuts well inside the edges of the electrical box. This relieves the tension in the material without committing you to a visible outer cut too soon.
From there, carefully trim outward toward the inner edges of the box. Use the opening as your guide and cut slowly in short strokes. Avoid cutting beyond the box edge, since any exposed cut outside the cover plate may remain visible after reassembly.
Do not try to make the opening oversized. The outlet cover plate is designed to hide a small, neat margin, not a wide gap. A close cut gives the installation a more finished appearance and helps the mural remain neatly supported at the edge.
If the vinyl is not lying flat around a corner, lift only the small section necessary, release any trapped tension, and smooth it back into place. Adhesive mural material is forgiving when handled carefully, but repeated lifting or aggressive pulling can affect adhesion. The best approach is controlled adjustments, not rushed corrections.
Smooth and reinstall the cover plate
After trimming, press the mural gently around the opening with your squeegee or fingertips wrapped in a soft cloth. Focus on the edges, where a secure bond helps prevent lifting over time. The vinyl should lie flat against the wall without being tucked deeply into the electrical box.
Reinstall the cover plate and tighten the screws only until the plate sits flush. Overtightening can crack plastic plates or leave an indentation in the wall covering. Stand back a few feet once the plate is in place. This is the distance from which the mural will usually be seen, and it is often reassuring to notice how neatly the cover plate frames the cutout.
For a room with several outlets, complete each one as you reach it rather than installing the full wall and returning later. Working panel by panel keeps the material supported and reduces the chance of forgetting where a hidden outlet opening is located beneath the mural.
Handle switches, GFCI outlets, and unusual placements
Light switches follow the same basic process: remove the cover plate, install the mural over the opening, make a small center relief cut, and trim carefully along the inside perimeter. The visible faceplate will cover the final edge.
GFCI outlets require a little more attention because their cover plates are often larger and may include reset and test buttons. The same close-trim principle applies, but take a moment to confirm that the plate and buttons sit freely after reassembly. Never cover buttons, vents, controls, or labels that need to remain accessible.
An outlet located at the very edge of a mural panel presents a different trade-off. If possible, plan the panel layout so the opening falls within a panel rather than directly on an overlap or seam. When that cannot be avoided, keep the seam properly overlapped first, then trim through both layers cleanly. A sharp blade and steady pressure are essential so the overlap remains tidy under the cover plate.
For commercial interiors, hospitality spaces, or feature walls with many wall devices, consider documenting outlet locations before installation. A quick photo or a light pencil mark outside the mural area can save time when the design covers multiple boxes. This is particularly useful with dark murals or high-detail artwork where openings are harder to spot once the panel is on the wall.
Avoid the most common mistakes
The biggest mistake is cutting too early. A panel that has not been fully aligned can shift, turning a perfectly measured cutout into a visible gap. Install, smooth, and confirm placement before the blade comes out.
Another common issue is using a worn blade. Large-format wall murals are printed for sharp visual detail, and a ragged cut around an outlet distracts from that finish. Fresh blades are inexpensive insurance for a clean result.
Finally, resist the temptation to trim around the outside of the cover plate. The plate should be removed first so the mural can run behind it. That small extra step creates a built-in, professional-looking edge and lets the artwork carry naturally across the wall.
A precisely trimmed outlet is a small detail, but it has a major effect on the finished room. Take your time at each opening, keep your cuts inside the cover plate's footprint, and let the mural remain the visual focus of the wall.